
User Menu
Package: BASIC
1. Opening the User Menu
To open the user menu, move the mouse pointer over your username in the bottom left. A flyout menu opens with the following items:
- My Preferences → Opens user settings
- Global Settings → Opens Global Settings (only available with the appropriate administrative permission)
- Update Information → Shows the "Update Information" popup with all changes/new features (selectable for all brainX release versions)
- Licence Terms → Shows the "Licence Terms" popup (all licence details can be accessed via the "Licence Details" button)
- Help → Opens the brainX Handbook
- Digital Assistant
- brainX Support → AI support chatbot that uses the brainX handbook as its information source
- Digital Assistant → General ChatGPT integration (in brainX CRM only available if one of the add-on packages Sales, Marketing or Service has been booked)
- Log Out → Logs the user out of brainX
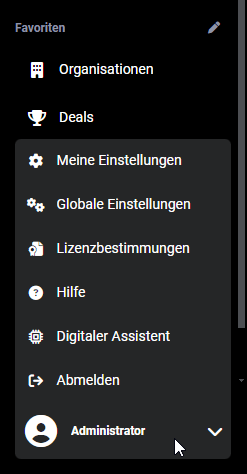 User Menu
Detailed information on the individual items can be found in the linked sections of the handbook.
2. My Preferences
In "My Preferences", each user can make individual settings for their user account. In addition to the user's personal information, settings for general user preferences and integrations can also be saved.
Detailed information on user settings can be found in the My Preferences section of the handbook.
3. Global Settings
The "Global Settings" item is only available if a user has the rights management role of "Admin", "CustomerAdmin" or "Superuser".
Further information on rights settings: Global Settings – Users and Permissions – Rights Management.
All administrative settings for the brainX system are made in Global Settings.
Detailed information on all settings items can be found in the Global Settings section.
4. Update Information
After clicking the "Update Information" item, a popup opens in which the update information can be viewed.
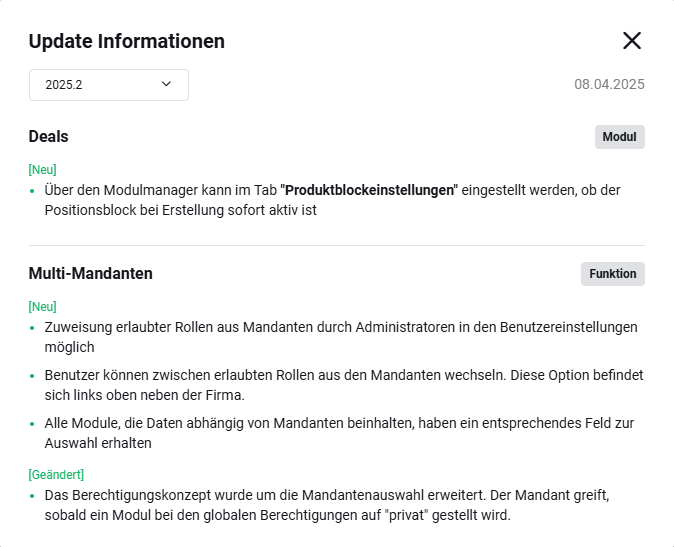 Popup Update Information
The most recent update information is shown by default; older update information can be selected via the selection list in the top left.
5. Licence Terms
After clicking the "Licence Terms" item, a popup of the same name opens with basic information on the licence terms of brainX.
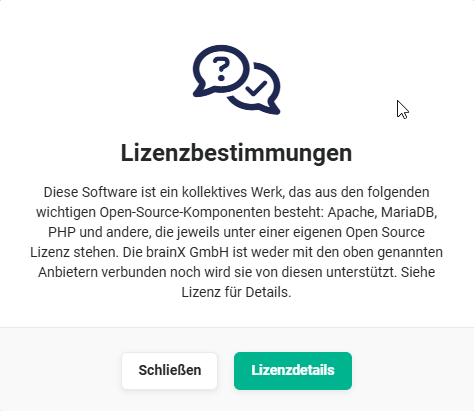 Popup Licence Terms
After clicking the "Licence Details" button, a popup of the same name opens with full details on the licences, divided into the areas "Third-Party", "PHP" and "JavaScript".
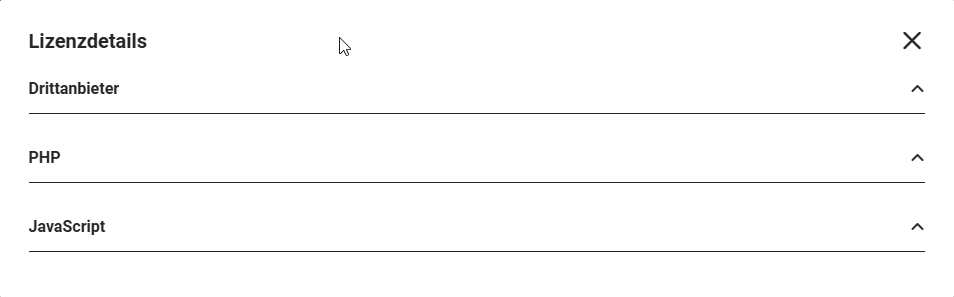 Popup Licence Details
Clicking the upward-pointing arrow icon expands the respective area to view the details.
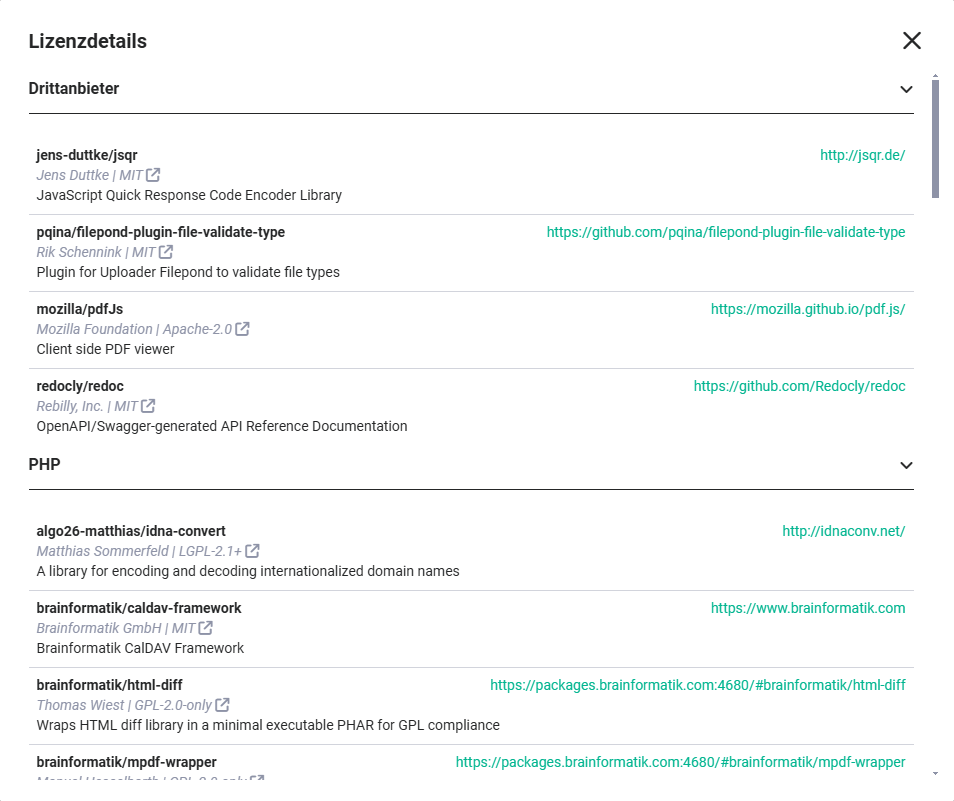 Popup Licence Details – Area Expanded
6. Help
After clicking the "Help" item, the brainX Handbook is opened in a new browser tab.
7. Digital Assistant
The Digital Assistant is the integration of ChatGPT into brainX.
ChatGPT is a chatbot that uses artificial intelligence to communicate with users via text-based messages. It uses modern machine learning technology to generate responses that sound natural and are intended to be relevant to the conversation. The chatbot was developed by the US company OpenAI, based in California, which published it in November 2022.
When a user uses the Digital Assistant for the first time, the "Privacy" popup is displayed.
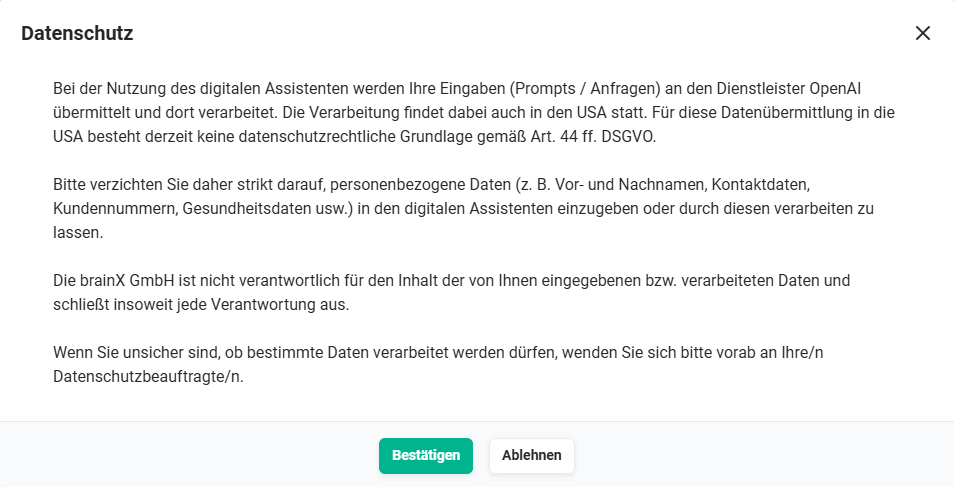 Digital Assistant – Privacy Notice
The Digital Assistant can only be used after clicking the "Confirm" button. The privacy notice can be viewed again at any time in the "Digital Assistant" popup by clicking the "Privacy" action icon (shield icon), and consent can also be withdrawn (by clicking the "Reject" button). Confirming or rejecting the privacy notice is saved individually for each user in the system.
After clicking the "Digital Assistant" item, a popup of the same name opens. In the popup, the "brainX Support" feature is available and — if configured — also the "Digital Assistant" feature.
- brainX Support → AI support chatbot that uses the brainX handbook as its information source
- Digital Assistant → General ChatGPT integration
7.1. brainX Support
The "Digital Assistant – brainX Support" is a fixed component of the brainX system.
The permission to use it can be configured in Profiles.
The "brainX Support" uses the brainX Handbook as its information source and provides relevant answers to specific questions, often including links to the corresponding sections in the handbook.
After clicking the "Digital Assistant" action in the user menu, the popup of the same name opens:
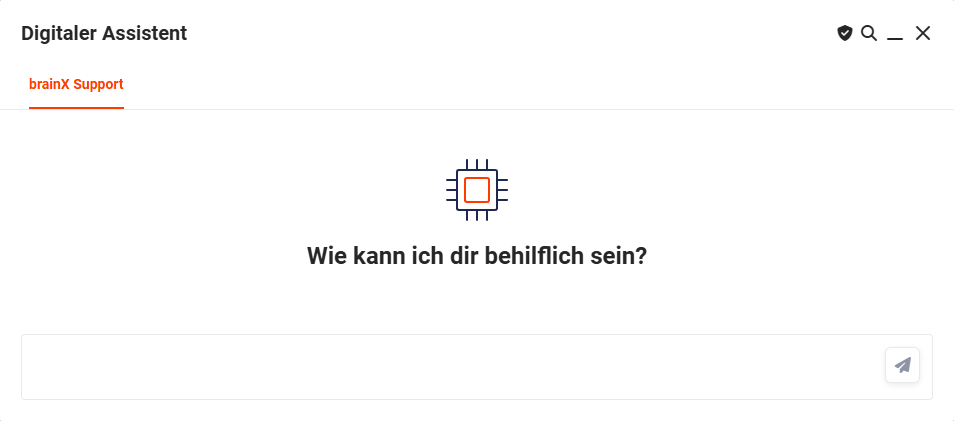 Popup Digital Assistant – brainX Support
All questions asked of the "brainX Support" are saved in a "Chat History", which is displayed in chronological order in the "Chat History" area.
Frequently used questions can be asked again by clicking the entry in the chat history.
On mouseover of an entry, the Delete action icon (bin icon) is shown, which can be used to delete an entry from the chat history.
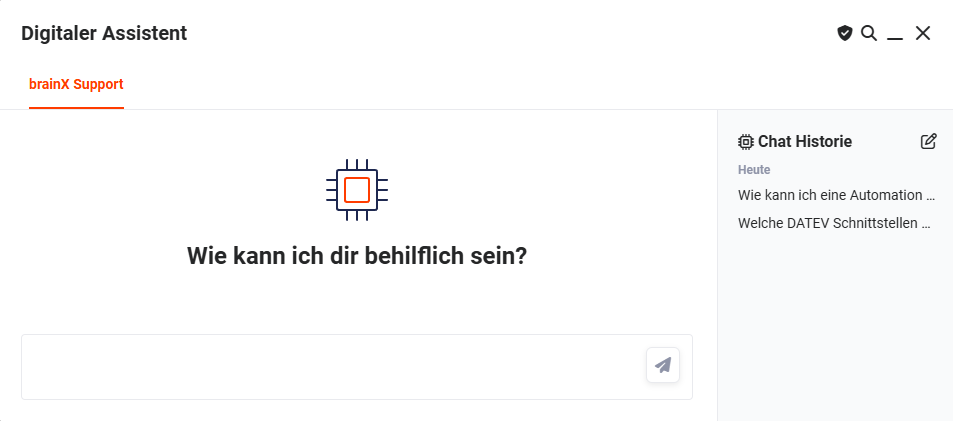 Digital Assistant – brainX Support – Chat History
The following action icons are available in the "Digital Assistant" popup:
- Search (magnifying glass icon) → After clicking the Search action icon, an input field opens in which words/text can be entered to search the questions asked and answers received from the Digital Assistant. Matches are highlighted in colour.
- Minimise (underscore icon) → After clicking the Minimise action icon, the "Digital Assistant" popup window is minimised and shown as an icon in the bottom right of brainX.
- Close (X icon) → After clicking the Close action icon, the "Digital Assistant" popup window is closed. The previous history of questions and answers is deleted.
- Send (paper plane icon) → After clicking the Send action icon, the entered question is sent to the Digital Assistant / ChatGPT. After a brief processing time, the answer is displayed.
7.2. Digital Assistant
The general ChatGPT integration "Digital Assistant" must be activated/configured in Company Information – Digital Assistant before use!
If the general ChatGPT integration "Digital Assistant" has been activated, the "Digital Assistant" popup appears as follows:
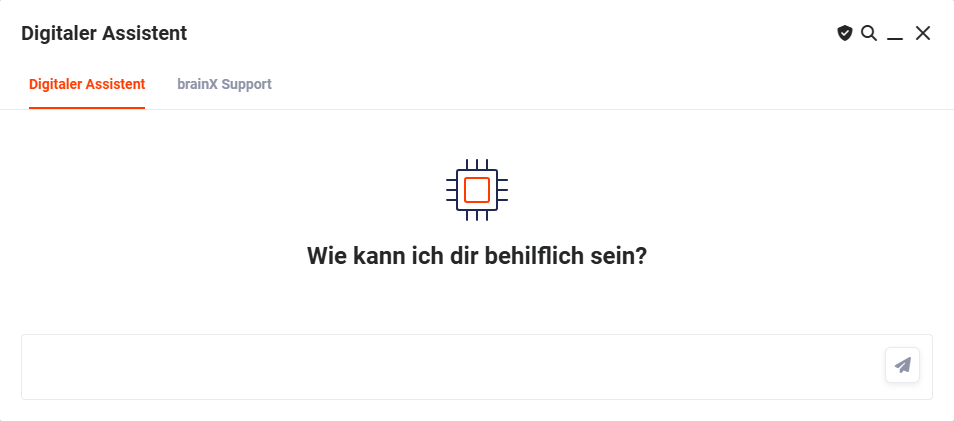 Popup Digital Assistant
Two tabs are available in the popup:
- Digital Assistant → General ChatGPT integration
- brainX Support → ChatGPT integration that uses the brainX Handbook as its information source
Detailed information on activating, configuring and using the Digital Assistant can be found in the Digital Assistant section.
8. Log Out
The user is logged out of the brainX system. The brainX login page is displayed.
Users should always log out of a browser application — which brainX is — to prevent unauthorised access to personal data and accounts, especially on public or shared computers.
Logging out ends a session and deletes cookies, which prevents potential attackers from hijacking the session and misusing your data.