
CSV Update
Package: BASIC
1. General
In the brainX system, there are currently several ways to change and/or supplement records. The options for importing and exporting data via CSV file are also available. However, if many records with different characteristics need to be updated, supplemented, or overwritten, this is only possible through manual input or changes per record.
To efficiently update many records in a short time while making external revision of the data as simple as possible, a CSV update is provided.
This function is available for the following modules:
- Tasks
- Visit Reports
- Deals
- Services
- Extended Contracts
- Contacts
- Leads
- Vendors
- Licenses
- Organizations
- Partner
- Products
2. Convert Source File
2.1. Conversion Steps
If the source file is a Microsoft Excel file (.xlsx), it must first be converted into a format compatible with brainX (.csv).
The conversion steps are described in detail in the section CSV Import — Convert Source File — Conversion Steps.
2.2. CSV Syntax
To perform a CSV update, the CSV file must have at least two columns. The first column must contain the brainX internal record number. This unique and distinct number is used to identify the correct record and update it. Starting from the second column, the values to be updated are defined.
Examples of internal record numbers:
Contacts module — Contact No.: CON34
Leads module — Lead No.: LEA25
Organizations module — Organization No.: ACC18
The encoding of the CSV file and the delimiters used for individual columns can be defined in brainX when uploading the file. However, only CSV files with the encodings ISO-8859-1 and UTF-8 can be used.
The permitted delimiter can be either a comma "," or a semicolon ";". Other encodings and/or delimiters cannot be processed!
2.3. Special Cases for Certain Field Types
For some field types, inputs must follow an exact definition in order to be processed correctly. The following points describe the exact syntax:
Date fields must always be entered in the CSV file in the format configured in the user settings of the user performing the CSV update (e.g., YYYY-MM-DD or DD-MM-YYYY).
Selection list values must already exist in brainX, otherwise a corresponding error message with a reference to the log file is displayed.
The selection list values in the CSV file must be written exactly as they exist in brainX. Selection list values in the CSV file do not need to be enclosed in quotes.
Both when overwriting and when appending, multiple values can be updated. To separate these values, the separator |##| must be used between the individual options. It consists of the following components:
- Space
- Vertical bar (Pipe: |)
- Hash (#)
- Hash (#)
- Vertical bar (Pipe: |)
- Space
Example: Value 1 |##| Value 2
If only one value is to be overwritten or appended, a separator is not needed.
For the update process, the states "yes" (checkbox checked / toggle on) must be entered with the number 1 and "no" (checkbox not checked / toggle off) with the number 0 in the CSV file.
If a currency field is to be updated, the unit of the user who initiated the update is always used. The only permitted formatting of the currency is the decimal separator in the form of a period (example: 73.50).
Other formatting and/or decimal separators cannot be processed and will cause errors!
As with currency fields, the formatting of a number and percentage field is limited to the decimal separator in the form of a period (example: 20.0).
Other formatting and/or decimal separators cannot be processed and will cause errors!
3. Background Task for CSV Update
For a CSV update to be executed, the background task CSV Update must be active. This background task checks at regular intervals whether new updates are pending and executes them.
The minimum execution interval is one minute for every cloud variant.
4. CSV Update Settings and Limits
There is no setting in brainX for the maximum number of records to be updated. However, there are certain technical limits.
The number of records to be updated depends on the following settings:
- Upload limit for records
- Record limit for updates with event handling This value is set to 100 by default in brainX systems. This means that if the Allow Events toggle is set to on in Step 1 of the update, a maximum of 100 records are possible.
Mechanisms such as automations or change tracking are activated. This can have a negative impact on the duration of the update and may slow down brainX — depending on the cloud variant.
Only one CSV update can be placed per module. This applies system-wide for all users, as otherwise there is a possibility that one and the same record could be updated multiple times. Only after the existing CSV update has been executed can a further update be placed for the same module.
However, it is possible to simultaneously initialize a CSV import and a CSV update per module. As with the CSV import, this can be done per user and module.
If a CSV import and a CSV update are to be placed in a module simultaneously, the update cannot of course refer to the records still to be imported. For the update, the record must already exist in the brainX system.
If the CSV update is successfully added to the processing list, the user receives a system notification. The user receives automatic notifications when updates are scheduled for the next update run, when the update has started, and after all processes have been completed.
If the CSV update is called again while another update for a module is already scheduled, the user is informed of the exact time and the creator of the update process. Only then can a new CSV update be initialized.
However, the user who commissioned the update has the option of manually deleting the process up until the "Update Scheduled" event. After that, a new CSV file for an update can be entered.
Once a CSV update has been performed and the user has been informed of the successful changes to the records, these changes can no longer be automatically undone.
5. Performing a CSV Update
Whether a user is allowed to perform a CSV update — i.e., whether the CSV Update action is available in the list view — can be configured individually per module via the profile settings.
For the update, it is important that the user performing the action has the necessary permissions. If active permission management is in place (e.g., modules are private, functions disabled), it must be ensured that the target module is active for the user and the function for updating data from CSV files is enabled.
In general, a user can update records for any users and groups. It should be noted that due to permission settings, not all records may be displayed after the update and may also not be considered in the manual search for duplicates.
5.1. Update Steps
The following describes the update steps using the Contacts module as an example.
Clicking the Actions button in the list view of the module opens a popup menu showing all available actions for that module.
After clicking the CSV Update action, Step 1 of 2 opens, which are described in detail below.
5.1.1. Step 1 — Select CSV File
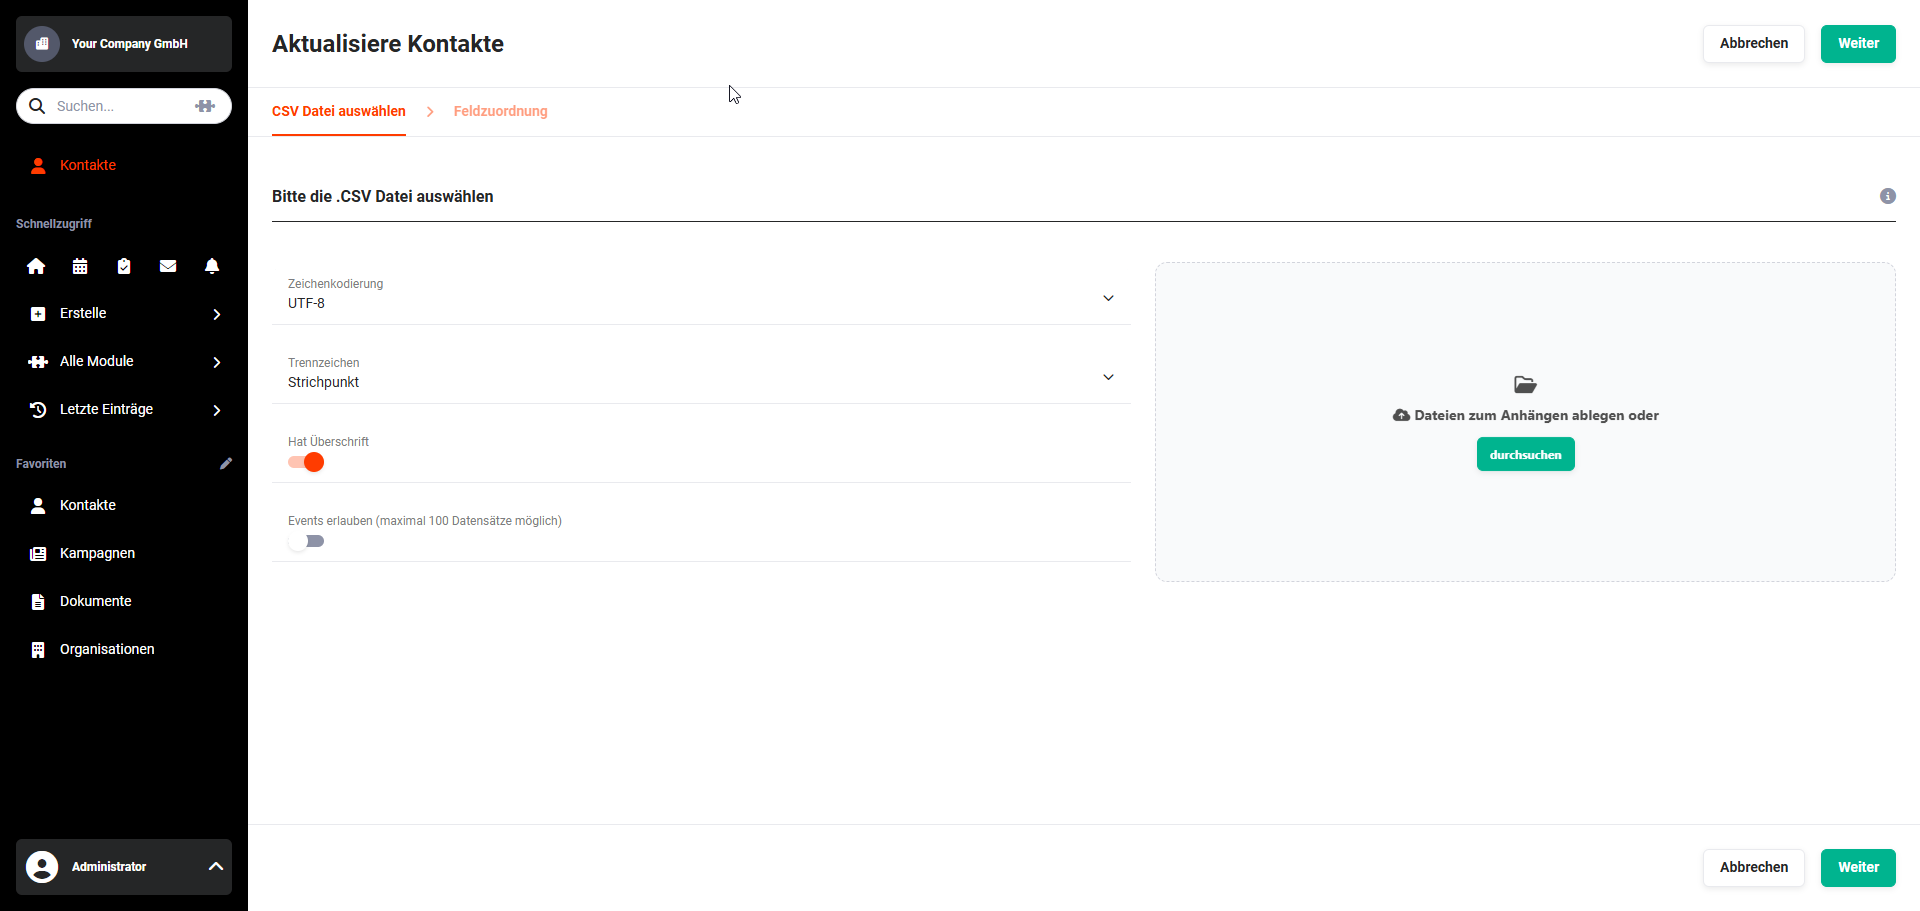 CSV Update — Select CSV File
In the first step, there are the following fields/settings:
- Encoding → The values UTF-8 and ISO-8859-1 are available here. For the example, "ISO-8859-1" is selected.
- Delimiter → The values Semicolon and Comma are available here. For the example, "Semicolon" is selected.
- Has Header Row → Toggle to specify whether the CSV file contains a header row. For the example, "yes" (toggle on) is selected.
- Allow Events → Toggle to specify whether events are allowed during the update. For the example, "no" (toggle off) is selected.
- File Upload → CSV files can be dropped here (Drag & Drop) or selected via the file explorer of the operating system. For the example, the file "Contacts_update.csv" is selected.
Now click the Continue button at the bottom right to proceed to the next step.
If no CSV file has been selected/uploaded, a corresponding notice is displayed:
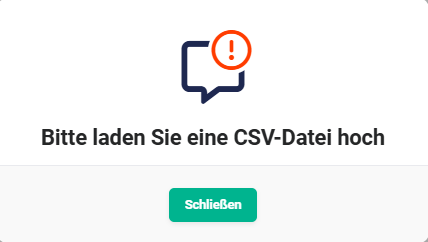 Notice: upload CSV file
If a CSV file is correctly selected, after clicking the Continue button, the CSV file is checked for validity. If the CSV file is not valid, the errors found are displayed accordingly:
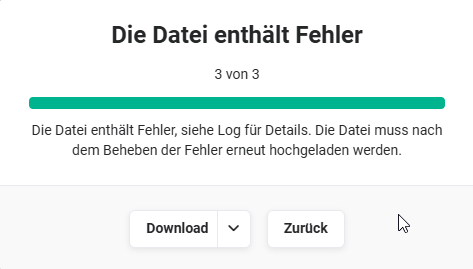 Notice: file contains errors
After successful validation, a corresponding notice is displayed:
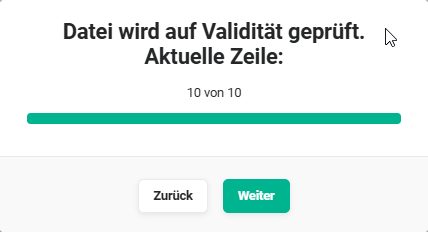 Notice: validity checked
Now click the Continue button in the notice popup to proceed to Step 2.
5.1.2. Step 2 — Field Mapping
In the second step Field Mapping of the update, the records contained in the CSV file are displayed in a list view:
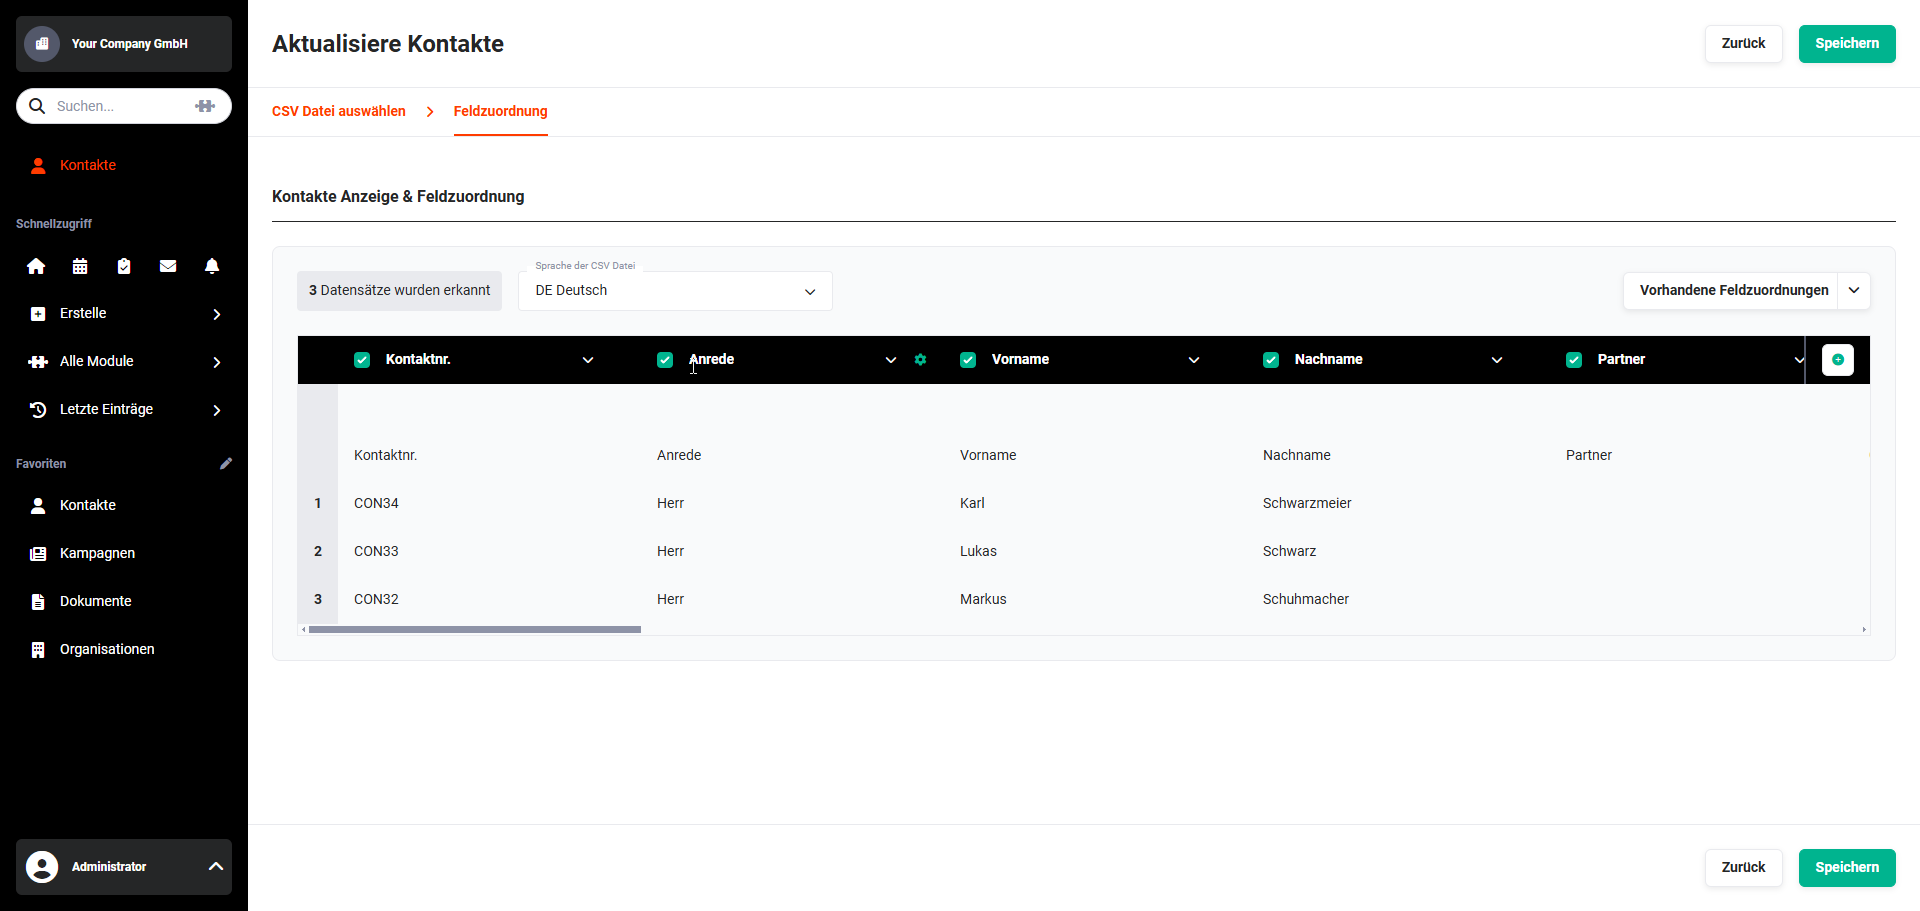 CSV Update — Display & Field Mapping
There are various setting and selection options here:
- Display of the number of records to be updated
- Selection of the language of the CSV file
- Create or select field mappings
- Selection of the columns to be updated
- Adding additional columns (fields)
- Setting up automatic creation of missing selection list values
If the CSV file to be imported contains very many columns, these are not immediately visible in the list view due to space constraints.
At the bottom of the list view there is a horizontal scrollbar, which must be used to see all columns and configure them as needed (select/deselect fields, set default values, set missing field values, etc.).
5.1.2.1. Display Number of Records
Directly to the left above the list view is the display of the number of detected records.
5.1.2.2. Selection of CSV File Language
The Language of CSV File selection list defines the source language of the CSV file. If it is English, for example, the value US English must be selected.
Based on this information, the system attempts to identify values whose target field is a selection list and assign them accordingly. If the value cannot be identified in the existing selection list and the corresponding option was selected, a new value is created and assigned to the record.
General information about language settings is available in the following sections:
5.1.2.3. Create or Select Field Mappings
Using the Existing Field Mappings selection list, either an existing field mapping can be selected or a new field mapping can be saved.
After clicking the selection list, a flyout window opens:
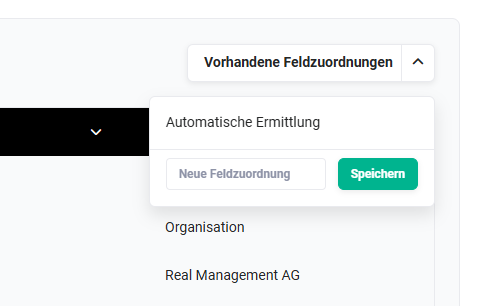 Selection list: existing field mappings
If multiple field mappings already exist, one can be selected.
To save a new field mapping — which was configured beforehand — simply enter a name in the input field and click the Save button:
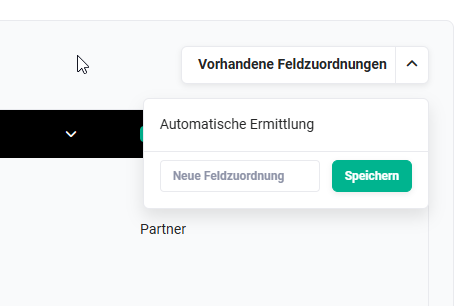 New field mapping
After saving the new field mapping, the flyout window looks as follows:
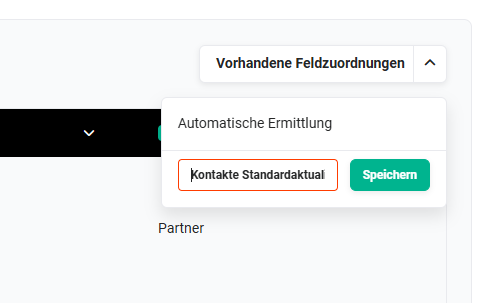 New field mapping saved
Existing field mappings can be deleted using the Recycle Bin actions icon.
Saving field mappings is useful when CSV files with the same structure are used regularly.
5.1.2.4. Selection of Columns to Update
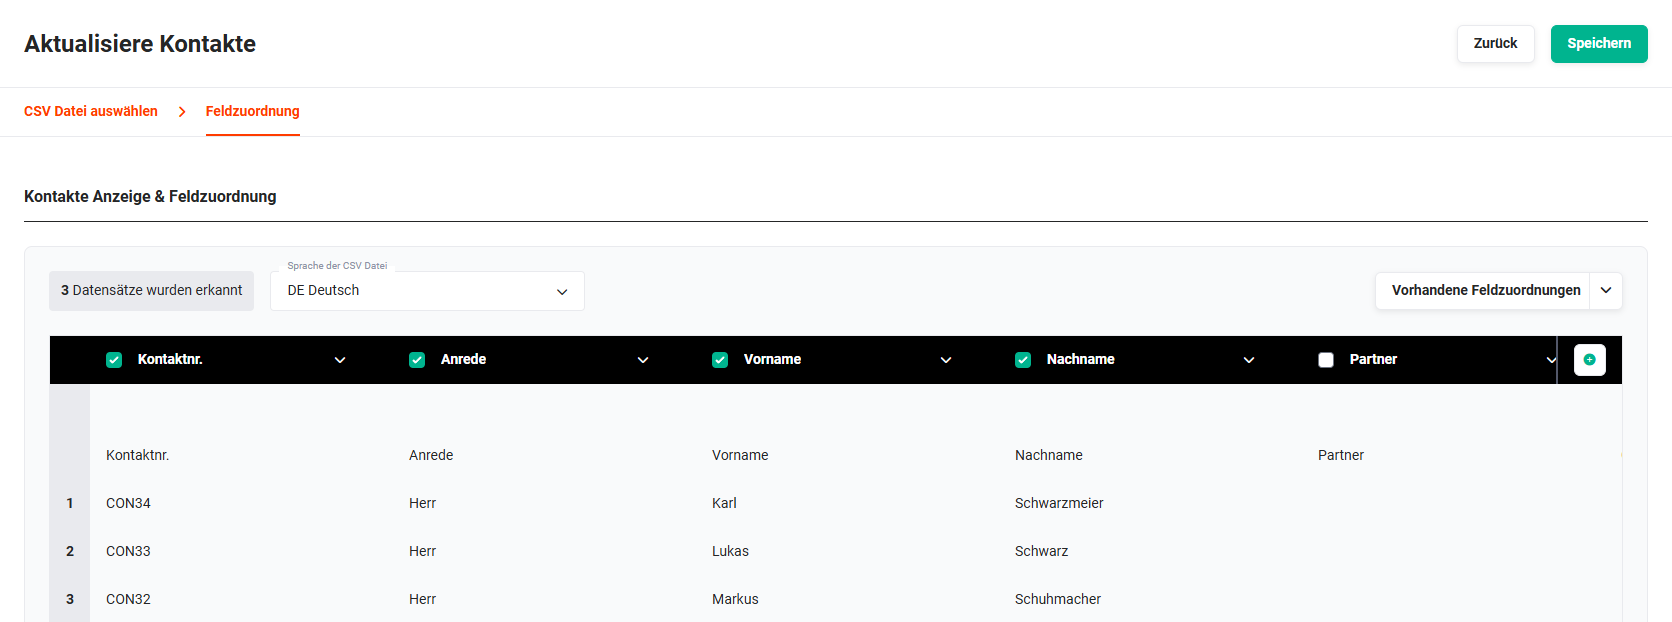
The selection of columns to be updated is done using the checkbox to the left of the column header.
In the following screenshot, the columns Salutation, First Name, and Last Name were selected. The Partner column was deselected and will therefore not be updated.
 CSV Update — Column Selection
5.1.2.5. Adding Additional Columns
During the CSV update, additional columns can be added that are not contained in the CSV file in order to fill them with default values.
To add additional columns, click the Add Column actions icon (Plus icon), which is always located at the far right in the column header row.
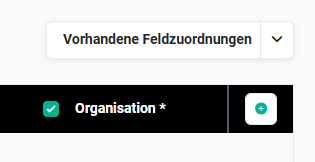 Action: Add Column
After clicking the Add Column actions icon, the Add Column popup window opens:
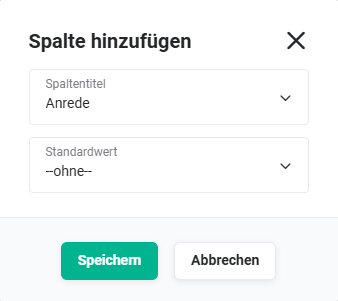 Add Column popup
The Column Title selection list lists all fields from the detail view of a record for the respective module:
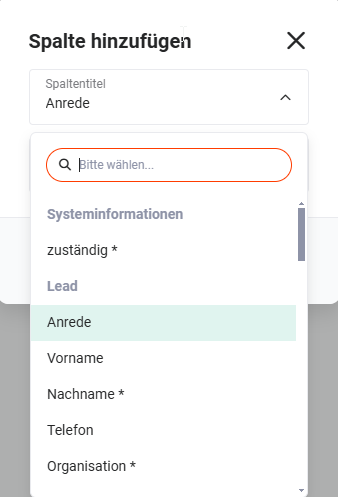 Column Title selection list
In the Default Value selection list, a default value can now be selected:
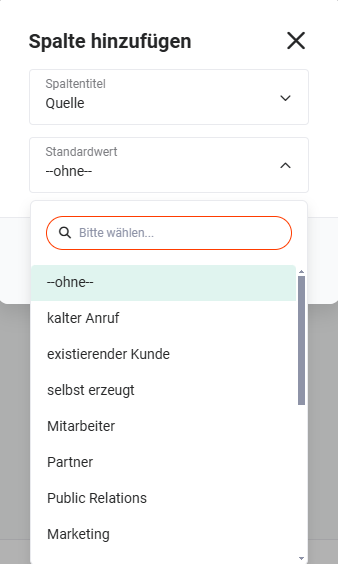 Column Title selection list — Default Value
Clicking the Save button in the Add Column popup applies the selected configuration.
5.1.2.6. Setting Missing Selection List Values
For fields of type Selection List and Multi-Select Box, missing values can be created automatically. Whether this action should be executed can be specified using the Create Missing Values checkbox. The Create Missing Values checkbox is displayed in every column of type selection list.
For missing values in the CSV file, default values can be defined for fields of type Selection List and Multi-Select Box.
 Actions icon: Set Default Value
After clicking the Set Default Value actions icon (Gear icon), the Set Default Value popup window opens:
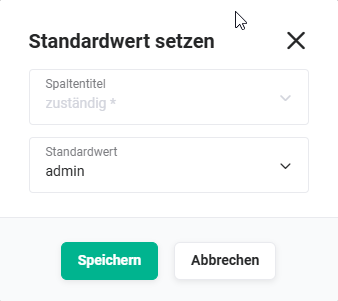 Set Default Value popup
In the Default Value selection list, a default value can now be selected.
Clicking the Save button in the Set Default Value popup applies the selected configuration.
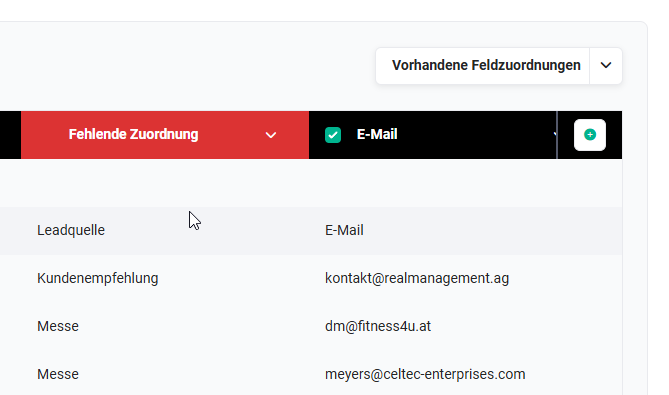
5.1.2.7. Missing Field Mapping
If column headers are not automatically recognized as existing fields in the respective module when reading the CSV file, the field mapping can be done manually.
Missing field mappings are highlighted in color in the list view and the column header Missing Field Mapping is displayed:
 Notice: missing mapping
To perform a field mapping, click the angle bracket icon. A flyout window opens listing all fields from the detail view of a record for the respective module:
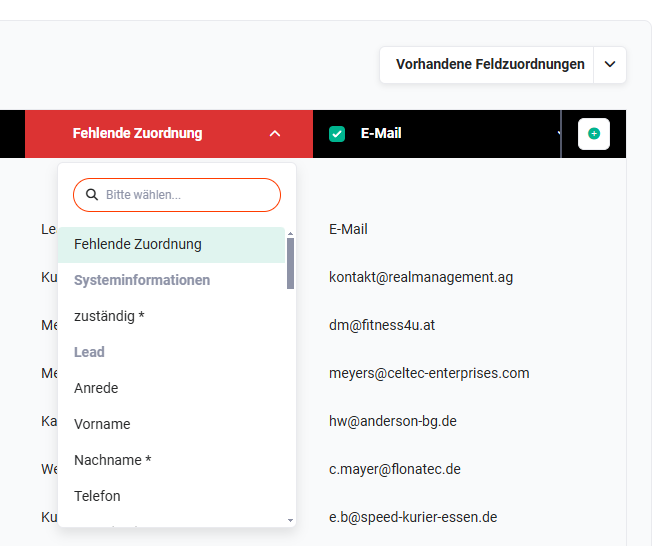 Selection list: missing mapping
After clicking a field name, the selection is applied.
5.1.2.8. Append Field Values
For certain field types (Text Area and Multi-Select Box), the content of the field can be supplemented with the data from the CSV file and appended to the end of the current content.
The decision whether a field value should be appended or replaced can be defined using a checkbox that is displayed in the corresponding columns:
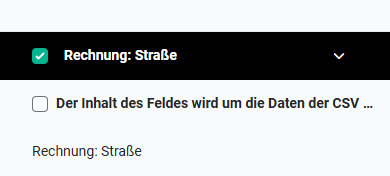 Checkbox: Append Field Value
For all other field types, only overwriting is possible with the CSV update.
6. Practical Examples
1 - Mass update of phone numbers and email addresses for existing customers
Situation: After a data maintenance action, updated contact data for several hundred organizations is available in an Excel spreadsheet. Each row contains the organization number as well as the new values for phone and email.
Approach: The Excel spreadsheet is saved as CSV. The first column contains the brainX record numbers (e.g., ACC18). In the Organizations module, the CSV Update action is started. In the Field Mapping step, only the Phone and Email columns are activated — all other fields are deselected to avoid unintended overwrites. After the background task runs, all records are updated.
Result: Hundreds of records are updated in a single operation — without manual individual editing and without the risk of changing other fields.
2 - Subsequently add lead source to imported trade fair leads
Situation: Several hundred leads were imported without a lead source. Subsequently, all these records should be assigned the lead source Trade Fair.
Approach: Via CSV Export, all affected leads are exported. In Excel, a Lead Source column with the value Trade Fair is added for all rows. The file is saved as CSV and uploaded via the CSV Update action in the Leads module. In the Field Mapping step, only the Lead Source column is activated.
Result: All affected leads are assigned the correct lead source — in a single operation, without touching other fields.
3 - Append notes to existing records
Situation: After a sales campaign, internal notes with the outcome of the conversation should be appended to several contacts. The notes are available in a spreadsheet and should be appended to the existing content of the Remarks field — without overwriting the existing text.
Approach: The spreadsheet is prepared as CSV. In the Field Mapping step of the CSV update, the Remarks column is selected and the Append Field Value checkbox is activated. The new notes are thereby appended to the end of the existing content, not overwritten.
Result: Existing notes are preserved and supplemented with the new conversation notes — without manual individual editing of the records.
7. FAQ
What is the difference between CSV Update and CSV Import with Overwrite?
The CSV update is designed for targeted updating of existing records. Only the fields contained in the CSV file and selected in the Field Mapping step are updated — all other fields remain unchanged. In contrast, when using CSV import with automatic merging and Overwrite, all unmapped fields are overwritten with empty values, which can lead to unintended data loss.
Can a CSV update be undone?
No. Once a CSV update has been successfully performed, the changes cannot be automatically undone. It is therefore recommended to perform a CSV export of the affected records as a backup copy before any mass update.
How must the first column of the CSV file be structured?
The first column must contain the brainX internal record number (e.g., CON34 for contacts, LEA25 for leads, ACC18 for organizations). Based on this unique number, brainX identifies the record to be updated. If the record number in the CSV file is missing or incorrect, the corresponding record cannot be updated.
What happens if a selection list value in the CSV file does not exist in brainX?
If the selection list value does not exist in brainX, an error message is output for the affected row and the record is not updated. The exact error causes can be traced in the log file. If new selection list values should be created automatically, the Create Missing Values checkbox must be activated for the respective column in the Field Mapping step.
Can multiple values be written to a multi-select list simultaneously?
Yes, multiple values for a multi-select list are separated in the CSV file by the separator |##| (space, pipe, two hashes, pipe, space). If the existing content of a multi-select list should not be overwritten but appended, the Append Field Value checkbox must be activated for the corresponding column in the Field Mapping step.
Can the CSV update run in parallel with a CSV import?
Yes, a CSV import and a CSV update can be placed simultaneously per module. It should be noted that the update can only refer to already existing records — records not yet imported cannot be updated.