
User
Package: BASIC
1. Login
After a new user has been created by the administrator, they will – provided the central mail server has been configured – automatically receive an email containing their username, password, role and the link to the brainX system.
If the automatic emails for new users are not configured, the login credentials (username, password and link to the brainX system) will be provided by the brainX administrator.
Since brainX is a browser-based application, a browser is opened to start and the corresponding address (URL) is entered into the address bar.
After opening the address, the brainX login page appears as follows:
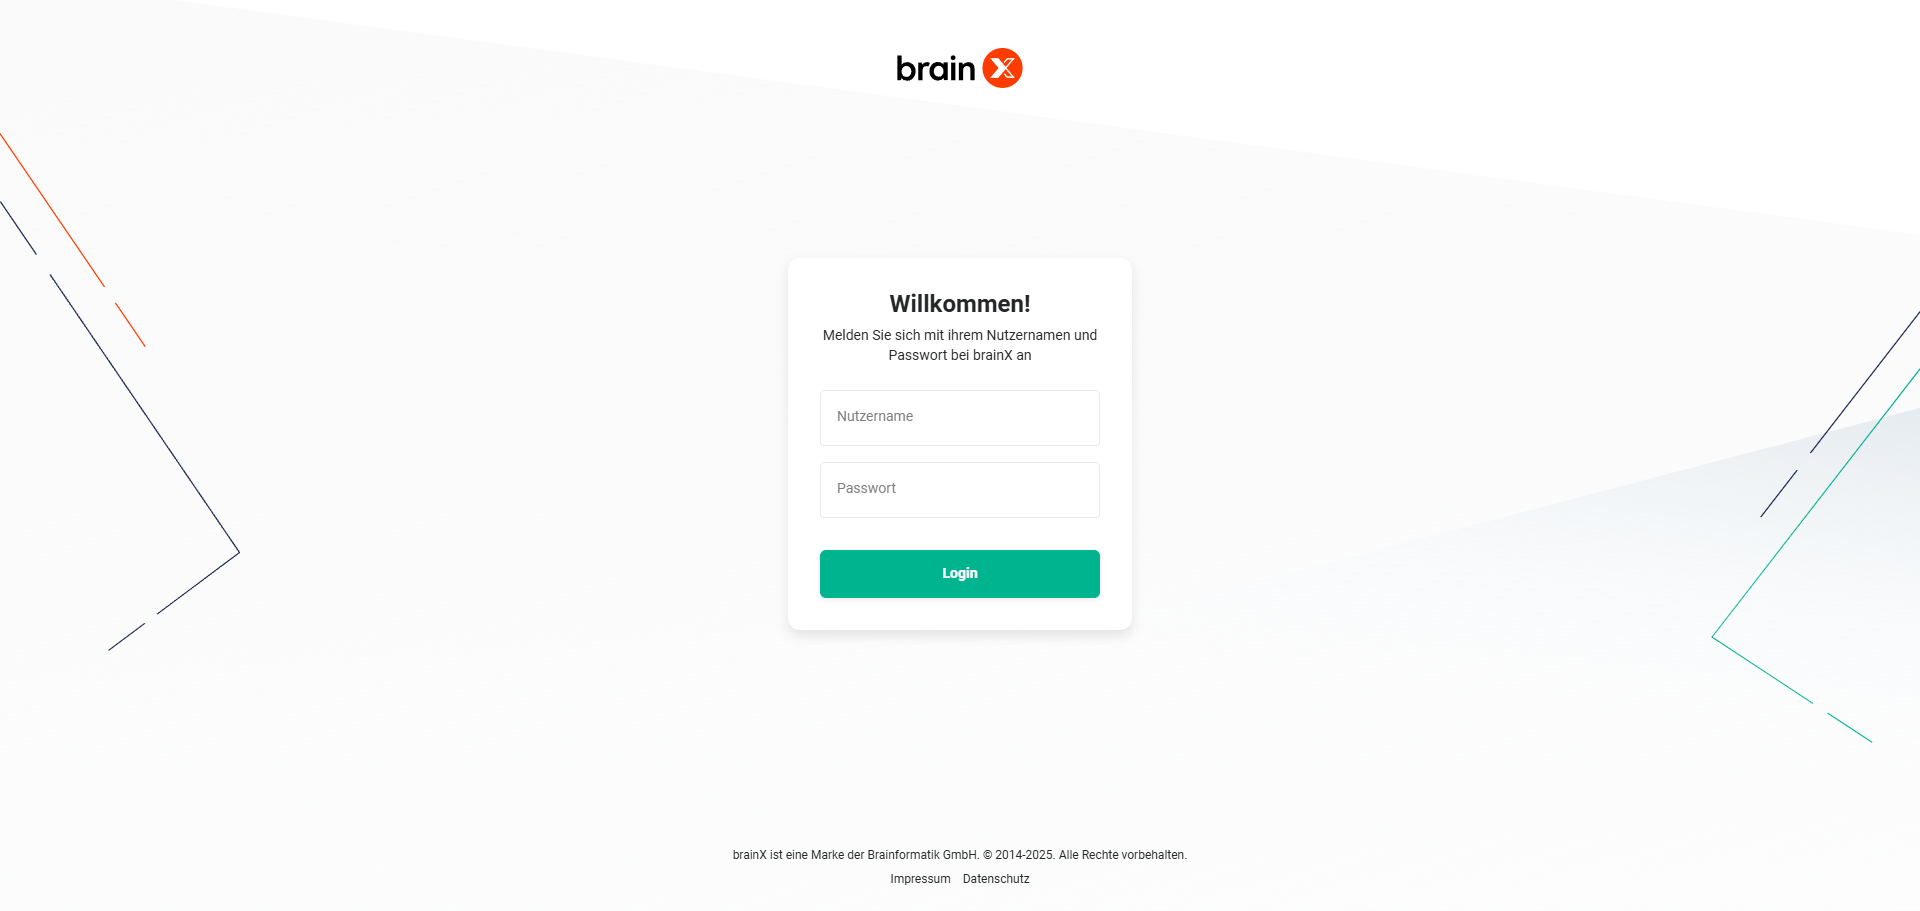 brainX Login Page
On first login, the user must change their password in accordance with the password policy.
2. My Preferences
In addition to the administrator or users with administrative permissions, every brainX user can edit their personal data in the "My Preferences" settings.
To access "My Preferences", move the mouse pointer over the username in the bottom-left corner. A flyout menu opens with the following options:
- My Preferences → Open the user settings
- Global Settings → Open the global settings, only available if the user has administrative permissions
- Update Information → Open the current update information
- Licence Terms → Display the "Licence Terms" popup (all licence details can be accessed via the "Licence Details" button)
- Help → Open the brainX online help at https://brainx.help
- Digital Assistant → Open the Digital Assistant (only available if the package Sales, Marketing or Service has been booked)
- Log out → Log the user out of brainX
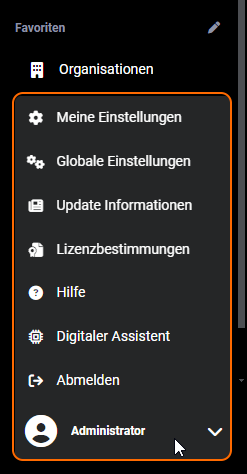 Navigation Bar – User Menu
The individual settings are explained in detail in the "My Preferences" section. The "My Preferences" area is divided into the following subsections:
3. Setting Up an Email Account
To send emails from within brainX, at least one email account must be configured in the Email Accounts module.
Further information on setting up a new email account can be found in the Email Accounts section of the handbook.
4. Setting Up the Dashboard
The dashboard provides you with a summarised overview of your most important data and information from brainX.
This is displayed in Widgets that can contain selected records (special list views of a module), charts (Charts) or country maps.
You can determine the number, content and position of the widgets for your own dashboard.
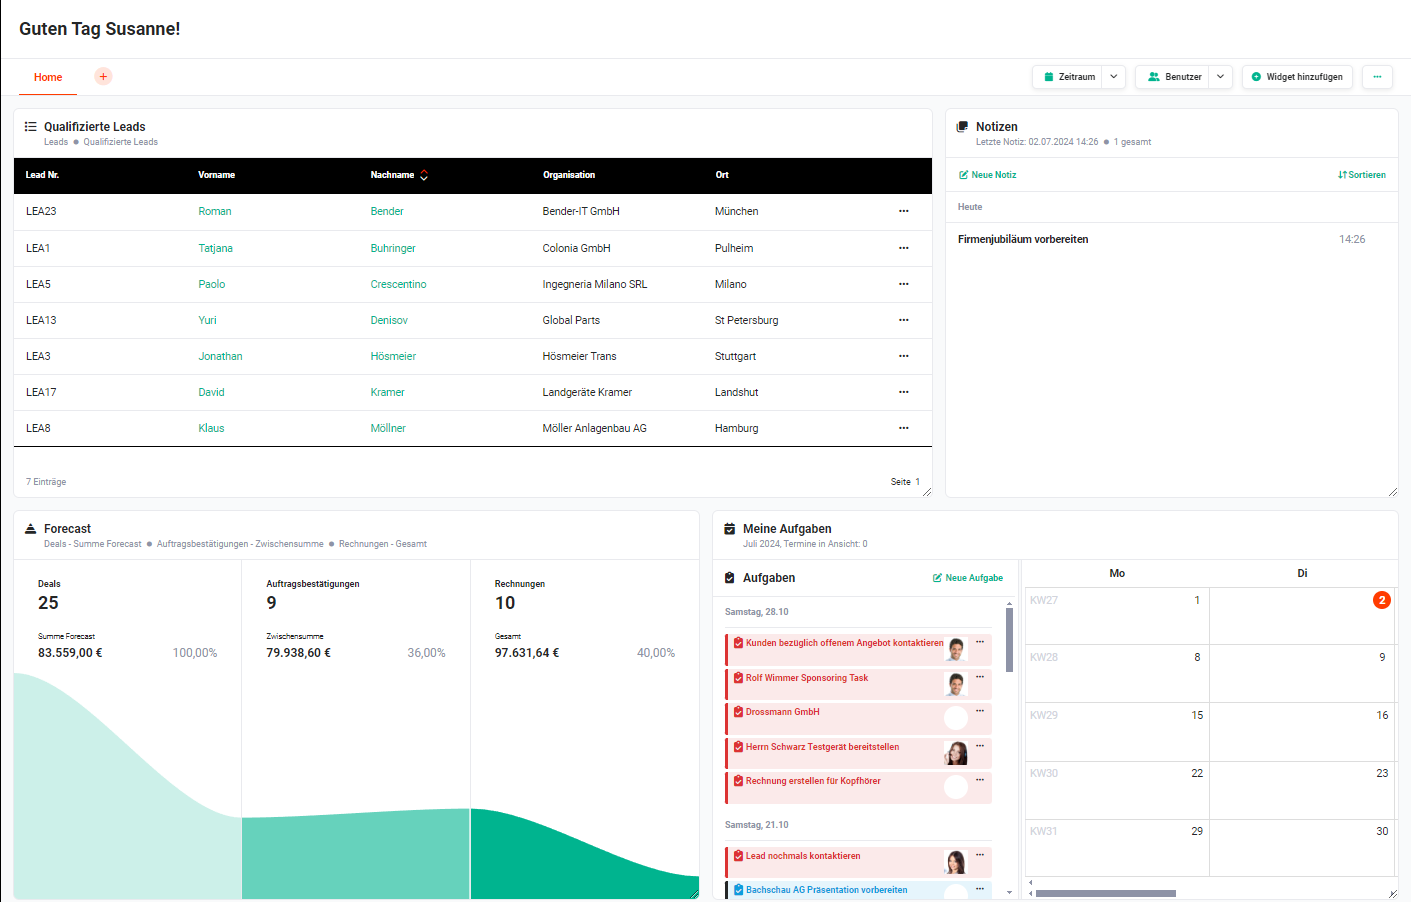
For information on how to create widgets and configure the dashboard, please refer to the Dashboard section of the handbook.