
Automations - List View
Package: BASIC
1. Overview
The list view of created automations has the following columns:
- Status → Toggle for the status (active/inactive)
- Name → Name of the automation
- Description → Description of the automation
- Category → Category of the automation
- Triggers → Number of total and active triggers
- Actions → Number of total and active actions
- Created by → Name of the creator of the automation
- Created → Date/time of the creation of the automation
- Last editor → Name of the last editor of the automation
- Changed → Date/time of the last change
- Actions (row menu) → Flyout menu with the actions "Edit", "Duplicate", "Delete" and "Export"
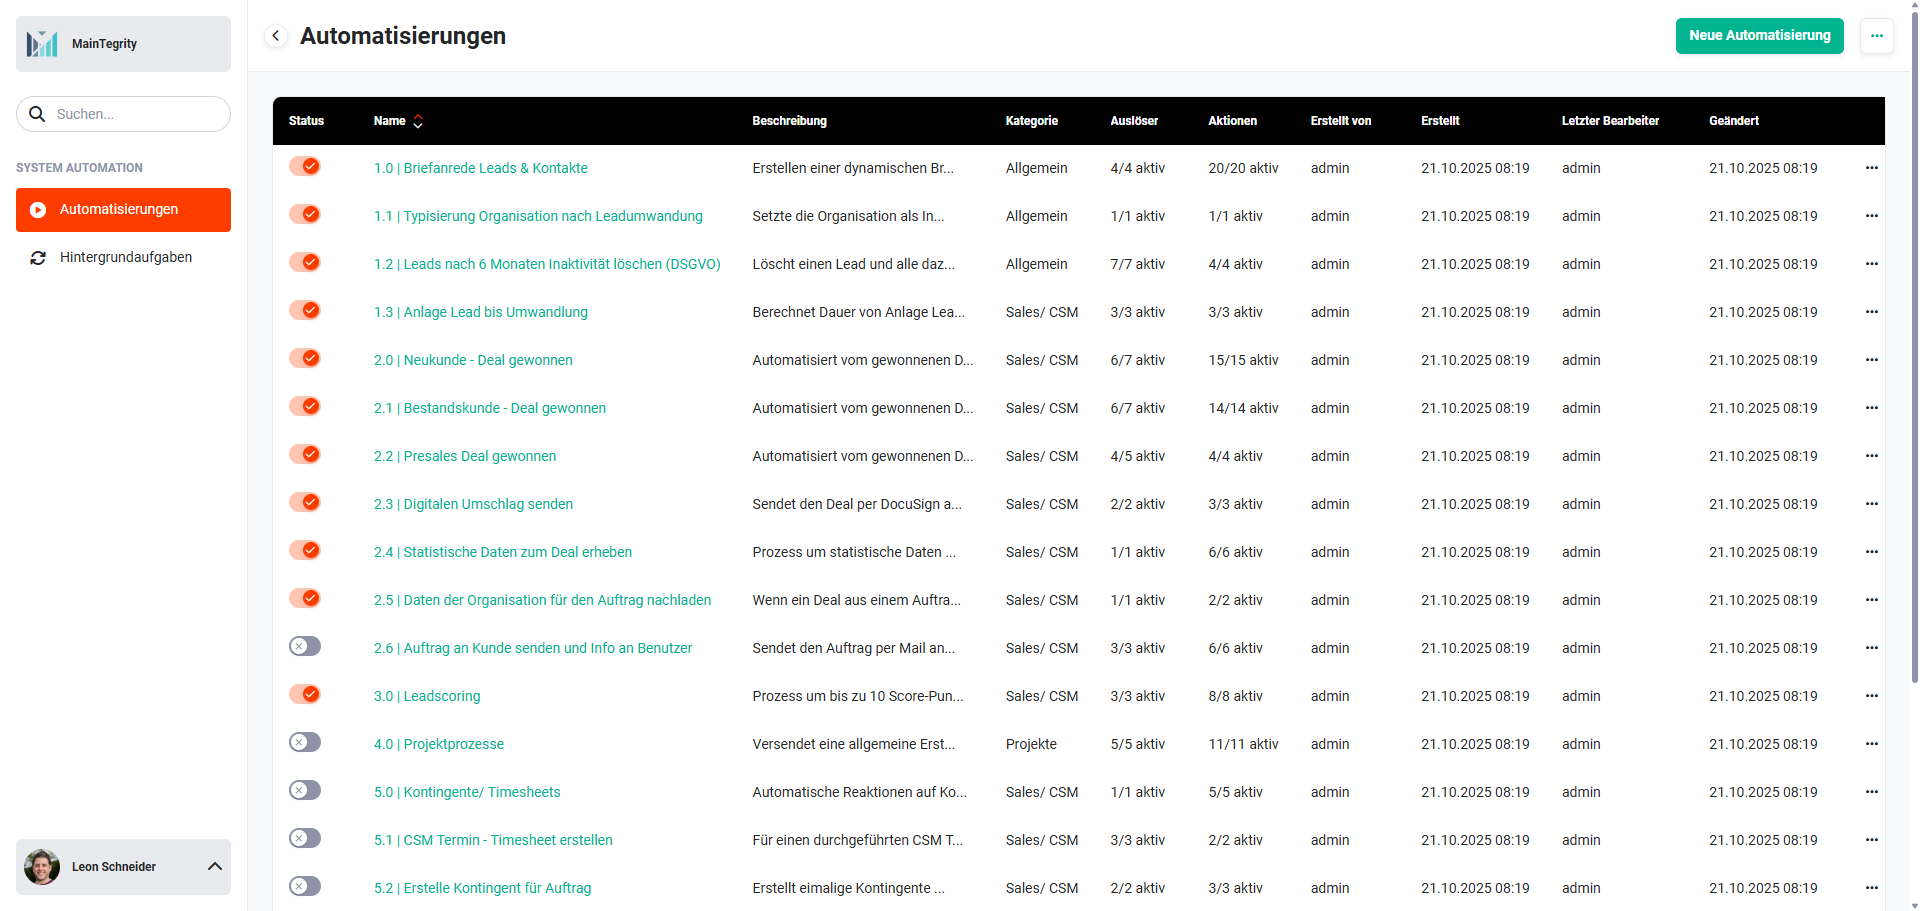 Example: List view of automations
2. General Actions
After clicking the action icon "three dots" at the top right, a flyout menu opens with the actions:
- Manage categories → manage the categories
- Import automations → import an automation
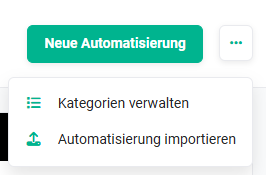 General actions
2.1. Manage Categories
After clicking the action "Manage categories" in the flyout menu, the popup "Manage categories" opens.
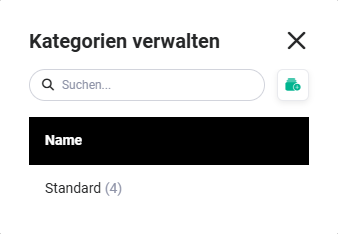 Popup "Manage categories"
2.1.1. Add Category
After clicking the action icon "Add category", the search field changes to an input field for the name of the new category. After pressing the "Enter key", the new category is saved and displayed in the overview.
2.1.2. Rename/Delete Category
To change the name of a category, or to delete a category, click the action icon "three dots" in the row of the corresponding category. A flyout menu opens with the actions:
- Rename → the category can be renamed
- Delete → delete a category
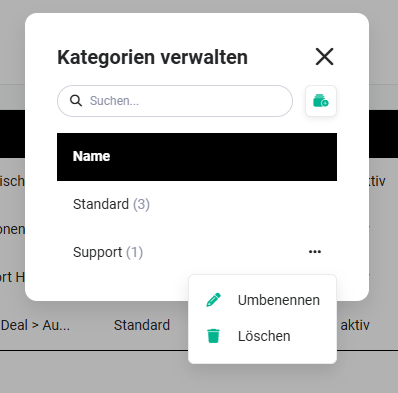 Popup "Manage categories" - Actions
After clicking the action "Rename", the name of the category becomes editable and can be changed accordingly.
After clicking the action "Delete", a popup is displayed asking whether the category should really be deleted.
Only "empty" categories can be deleted. If a category still contains automations, these must be moved to another category.
The system-side category "Standard" generally cannot be edited/deleted!
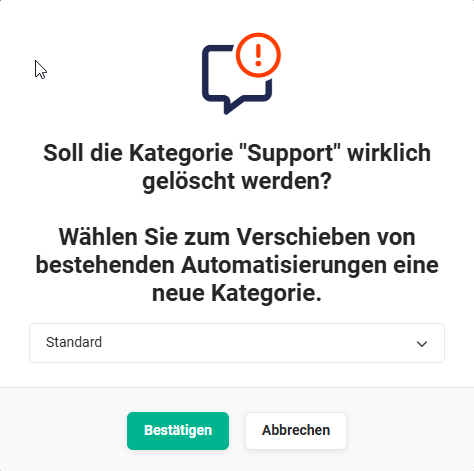 Popup Delete category - Selection of which category automations will be moved to
2.2. Import Automations
Automations that have been exported from a brainX system can be imported into another brainX system via this function.
brainX GmbH creates complex automations first in a test system and then transfers them to the respective customer system via import.
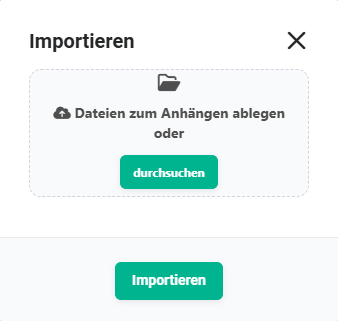 Popup Import automation
During import, it is automatically checked whether all required fields and field values are present in the target system. If fields or field values are missing, a dialog window opens in which the missing values can be manually configured before the import is completed.
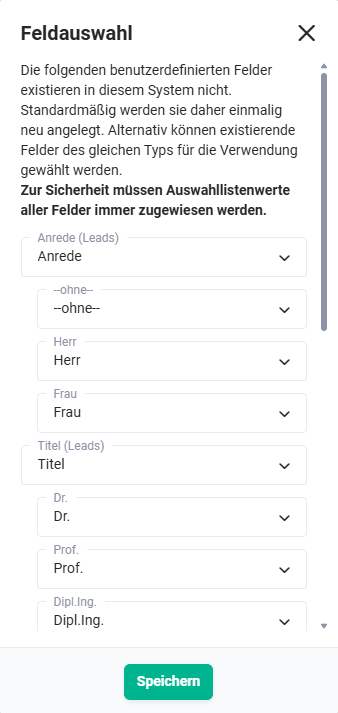 Import automation - Popup field selection
When exporting an automation intended for later import, the following points must be observed:
- PDF templates contained in the export are automatically transferred during import.
- Configured mailboxes are not exported and must be manually added after import.
- Imported automations are inactive by default and must be manually activated after import.
3. Actions per Automation
In the list view of automations, the action icon "three dots" is located in the last column for each automation.
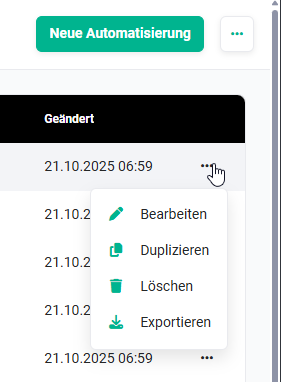 List view automations - Actions menu
After clicking, a flyout menu opens with the following actions:
- Edit → the editing view of the automation is opened
- Duplicate → duplicate/copy the automation
- Delete → the automation is deleted
- Export → the automation is exported (a zip file is created which is located in the download folder of the operating system. The export of automations also includes custom fields and PDF templates.)
Right-clicking on an automation in the list view also opens a flyout menu with the identical actions:
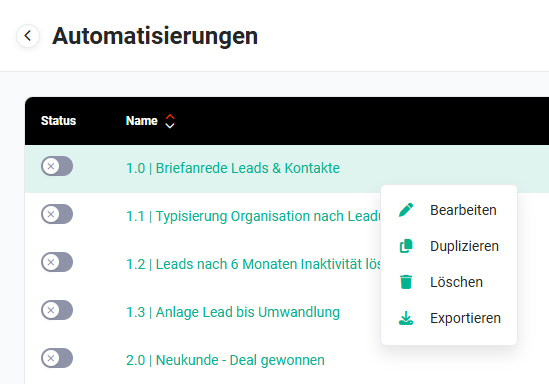 List view automations - Actions menu