
Integrations
Package: BASIC
1. General
In "My Preferences", the "Integrations" tab shows all available integrations for the user.
An integration is an interface/connection to third-party software that makes it possible to use the functionality of these software solutions within brainX, or to exchange data with the third-party software.
Integrations in brainX include, for example:
- Exchange Online (MS Office 365 functions)
- Connect (telephony)
- DATEV (DATEV Unternehmen online)
- Digital Signature (DocuSign/DocuSeal)
- External Time Tracking Connection (Clockodo)
Detailed information on brainX packages, in particular which modules and features/integrations are included in which packages, can be found in the section brainX – Base Package and Additional Packages.
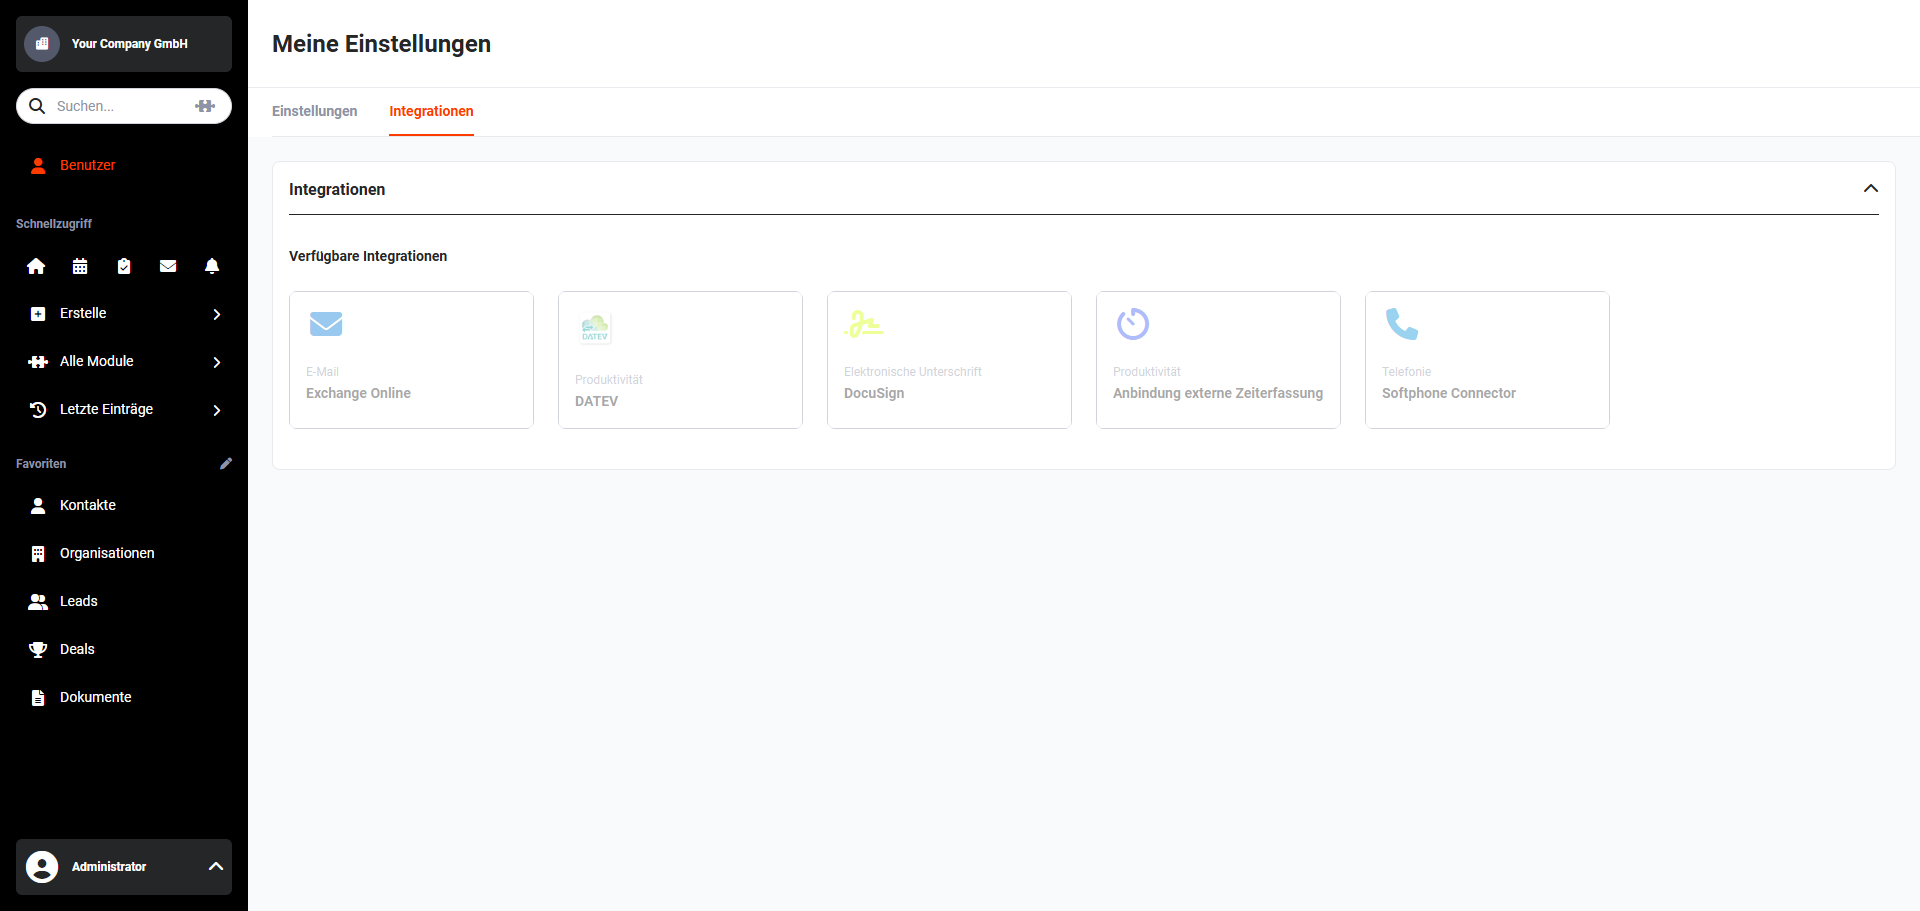 My Preferences – Integrations
Depending on the integration, the administrator may need to configure settings in Global Settings – Additional Functions before authentication or use of an integration.
For integrations that require authentication, the tile shows the actively authenticated account/user. This makes it possible at any time to see which account an integration is connected to.
2. Exchange Online
The prerequisites, global settings and functionality are explained in detail in the section Exchange Online.
2.1. Authentication
After clicking the "Exchange Online" tile, the "Exchange Online Authentication" popup opens.
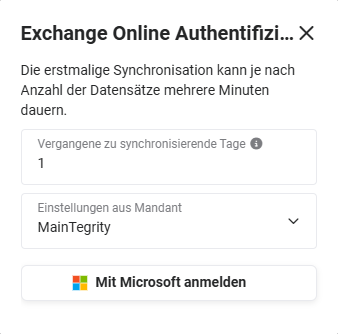 Popup "Exchange Online Authentication"
In the "Days to synchronise in the past" field, a value can be entered for the number of days that should be synchronised retrospectively.
The appointments from the previous month — starting from the date of the first authentication — are to be transferred completely:
Date of synchronisation is 15.04. → Number of days to synchronise = 45
In the "Settings from tenant" field, the tenant can be selected whose Exchange Online settings configured in Global Settings for that tenant should be applied.
After clicking the "Sign in with Microsoft" button, a notice is displayed informing you that you will now be redirected to the corresponding service.
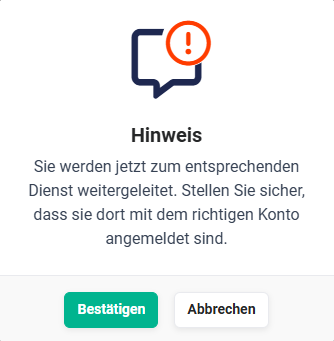 Redirect Notice
After clicking the "Confirm" button in the notice, a browser window with the Microsoft login page is automatically displayed. After entering the username and password, access to Office 365 by brainX must be confirmed.
The login credentials of a Microsoft account are stored encrypted depending on the operating system and configuration (on Windows operating systems, for example, in the so-called "Credential Manager"). If you are automatically redirected to the "wrong" Microsoft account, the entire authentication process must be carried out in a private browser window. This is possible in Chrome via the "Incognito window", in Edge via the "InPrivate window" and in Firefox via the "Private window".
After accepting the permissions, the browser window closes automatically. Exchange Online then attempts to log in to the Exchange server. The user is informed of the result — whether successful or not — via a corresponding message.
Depending on the number of records, synchronisation may take several minutes. The progress is shown in a separate display in the bottom right. The process must not be interrupted!
During synchronisation, no further actions may be started in the browser tab in which it is displayed, and the browser tab must not be closed. Otherwise, data may be transferred incompletely or incorrectly.
2.2. Re-authentication
Once a user has been authenticated, they can re-authenticate — e.g. in the event of synchronisation problems — to log in to the Exchange server again.
After clicking the "Exchange Online" tile, the "Exchange Online Authentication" popup opens, from which the re-authentication can be started.
All data that has been missing since the last synchronisation will be synchronised afterwards.
Compared to the initial authentication, the "Full re-synchronisation" field is additionally displayed in the "Exchange Online Authentication" popup during re-authentication.
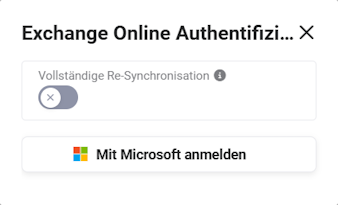 Popup "Exchange Online Authentication" – Re-synchronisation
When the "Full re-synchronisation" switch is activated, the data from the past x days (field "Days to synchronise in the past") as well as all future data is checked and re-synchronised if necessary. This process takes more time.
The progress of the synchronisation is shown in the bottom right — as with the initial authentication:
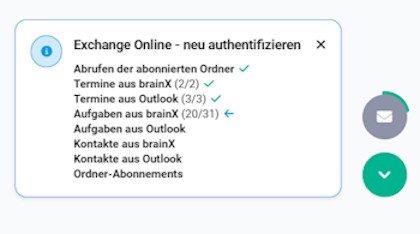 Exchange Online – Synchronisation Progress
3. Connect
The prerequisite for using the Connect integration is that the administrator has activated at least one telephone provider in Global Settings – Company Information – Connect.
After clicking the tile of an activated provider (Sipgate or Placetel), a popup opens with the message: "You will now be redirected to the corresponding service. Please make sure you are logged in with the correct account there."
After clicking the "Confirm" button, authentication is carried out:
- If the user is already logged in to the respective service on their device, authentication is completed automatically.
- If the user is not logged in, a separate browser window opens for login:
- Sipgate → Sipgate login page
- Placetel → Webex login page
After entering the login credentials, authentication is completed. The tile then shows the currently authenticated account.
The following settings are available in a popup after authentication:
| Setting | Description |
|---|---|
| Phone number | Automatically pre-filled after authentication. |
| Device for calls | Selection of the device for calls; the desktop device is automatically pre-selected.With Sipgate Neo, the Sipgate Desktop App can also be selected here as the device. |
| Device for SMS sending | Selection of the device for SMS sending; can be deactivated to prevent SMS sending for this user. |
| Show calls | Controls whether the call popup is displayed for this user. |
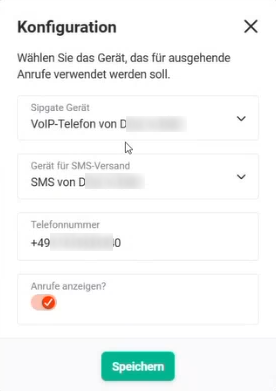 Example: Sipgate Configuration Popup
Detailed information on how the telephony integration works can be found in the section Connect.
4. DATEV
After clicking the "DATEV" tile, the "Access Key Management (Token)" popup opens.
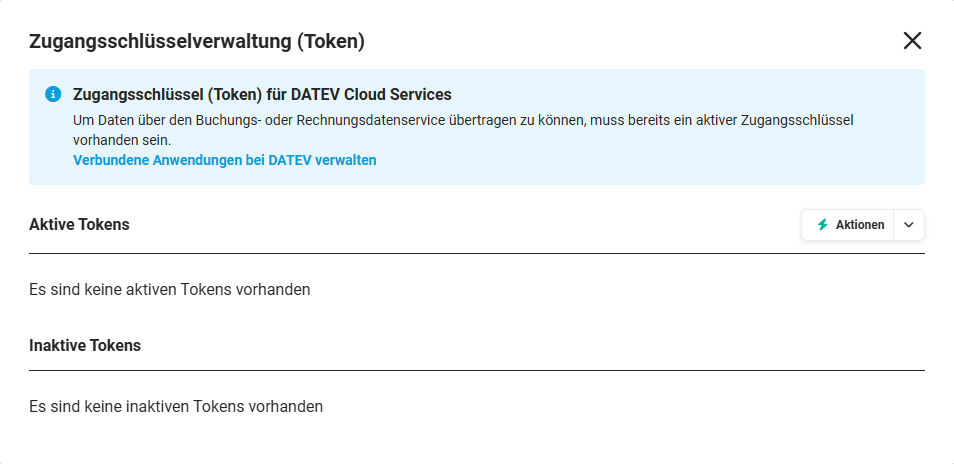 Popup "Access Key Management (Token)"
For further information on tokens, see Global Settings – Additional Functions – DATEV Accounting Data Service and DATEV Invoice Data Service 1.0.
5. Digital Signature
5.1. DocuSign
After clicking the "DocuSign" tile, a popup opens with a notice that the user will be redirected to the corresponding service.
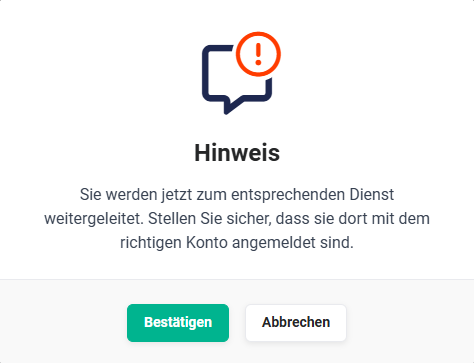 Redirect Notice
After clicking the "Confirm" button, a separate browser window opens to log in to DocuSign.
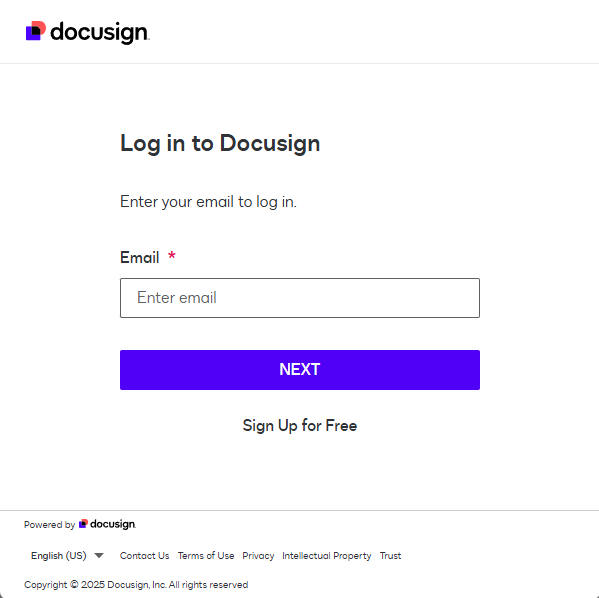 DocuSign Login
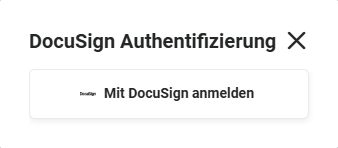 DocuSign Authentication
5.2. DocuSeal
After clicking the "DocuSeal" tile, the "Authentication" popup is displayed.
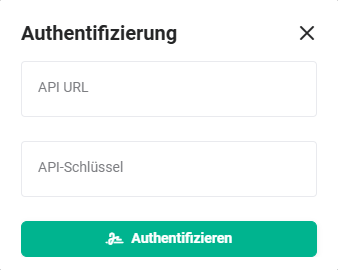 Popup Authentication DocuSeal
After entering the API URL and API key and clicking the "Authenticate" button, authentication is carried out.
6. External Time Tracking Connection
After clicking the "External Time Tracking Connection" tile, the "Clockodo" popup opens.
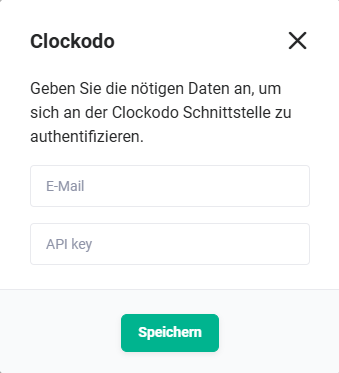 Popup "Clockodo"
After entering an email address and an API key, authentication is carried out by clicking the "Save" button.