
Dashboard Actions
Package: BASIC
1. General
Three actions are available for dashboards:
To open the flyout menu with the actions, click the "…" actions icon (three dots icon):
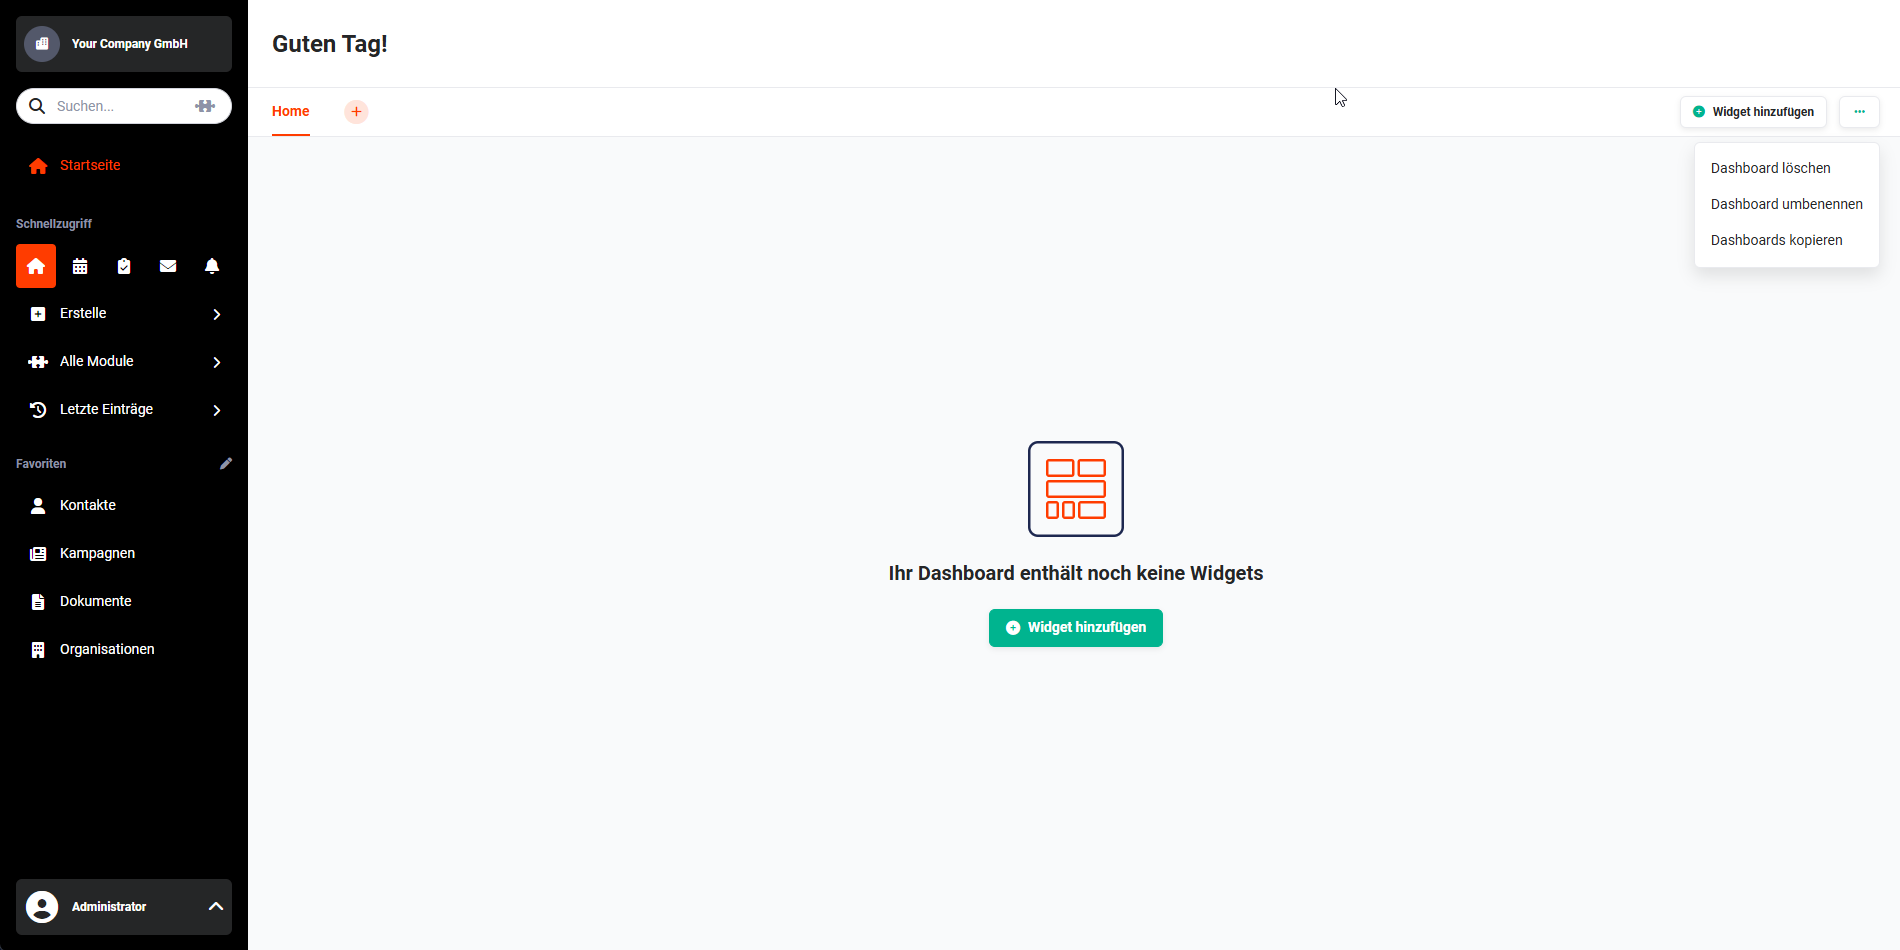 Dashboard Actions
2. Delete Dashboard
After clicking the Delete Dashboard action, a popup is displayed:
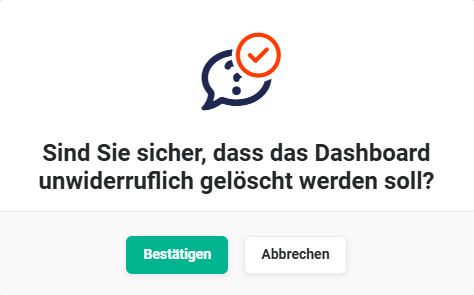 Delete Dashboard popup
After clicking the Confirm button, the dashboard is permanently deleted. "Permanently" means the dashboard is deleted for good and cannot be restored!
Only the dashboard itself is deleted. Charts, diagrams, etc. that may have been newly created/used for a widget in this tab are still available after the tab is deleted.
If a dashboard was accidentally deleted and needs to be restored, it must be recreated and reconfigured by selecting widgets!
3. Rename Dashboard
After clicking the Rename Dashboard action, the popup of the same name is displayed:
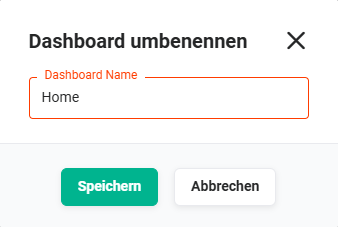 Rename Dashboard popup
In the Dashboard Name input field, the new name of the dashboard can be entered. Clicking the Save button saves the change.
4. Copy Dashboard
To distribute already created widgets or tabs to other users in a time-saving manner, the Copy Dashboard action can be used.
In particular, preconfigured widgets or tabs can be made available to new users this way.
Since a user to whom tabs are to be copied does not need to grant approval for tabs to be created on "their" Dashboard, the right to copy depends on the permission management.
The following permissions apply for copying dashboards:
- Copying to users whose roles are below the role of the copying user in the role and hierarchy tree.
- If a user has the permission level Admin or CustomerAdmin, they can copy tabs to all users regardless of their own role.
After clicking the Copy Dashboard action, the popup of the same name is displayed:
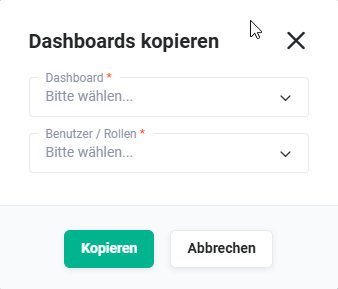 Copy Dashboard popup
In the Dashboard selection list, the dashboard to be copied must be selected.
In the Users / Roles selection list, the users and/or roles to which the dashboard should be copied can be selected.
The Users / Roles selection list only shows a user the users and/or roles to which they can copy dashboards.
Clicking the Copy button executes the copy operation and the dashboard is copied to the selected users/roles. The copied dashboard — including the widgets contained within it — is now available to the users/roles.
If, for example, the Module List View widget is included in the copied dashboard, the user to whom the dashboard was copied will only see the records of the module for which they have at least read permission.
Before creating a copy of the dashboard, users who will receive the dashboard should be informed in advance. Otherwise, this could lead to confusion.
When a dashboard has been copied, no updates are applied to it. Users who have received a copied dashboard can therefore configure it individually.