
Record Selection
Package: BASIC
1. General
At various points in the brainX system, popup windows are displayed in which records from other modules can be selected. The records are displayed in the popup window in a list view.
This list view can be freely configured in terms of the displayed columns (fields), the order of the columns, and the default sort order.
In the "Record Selection" tab in Module Management, the columns of lists in popups for record selection can be freely configured per module.
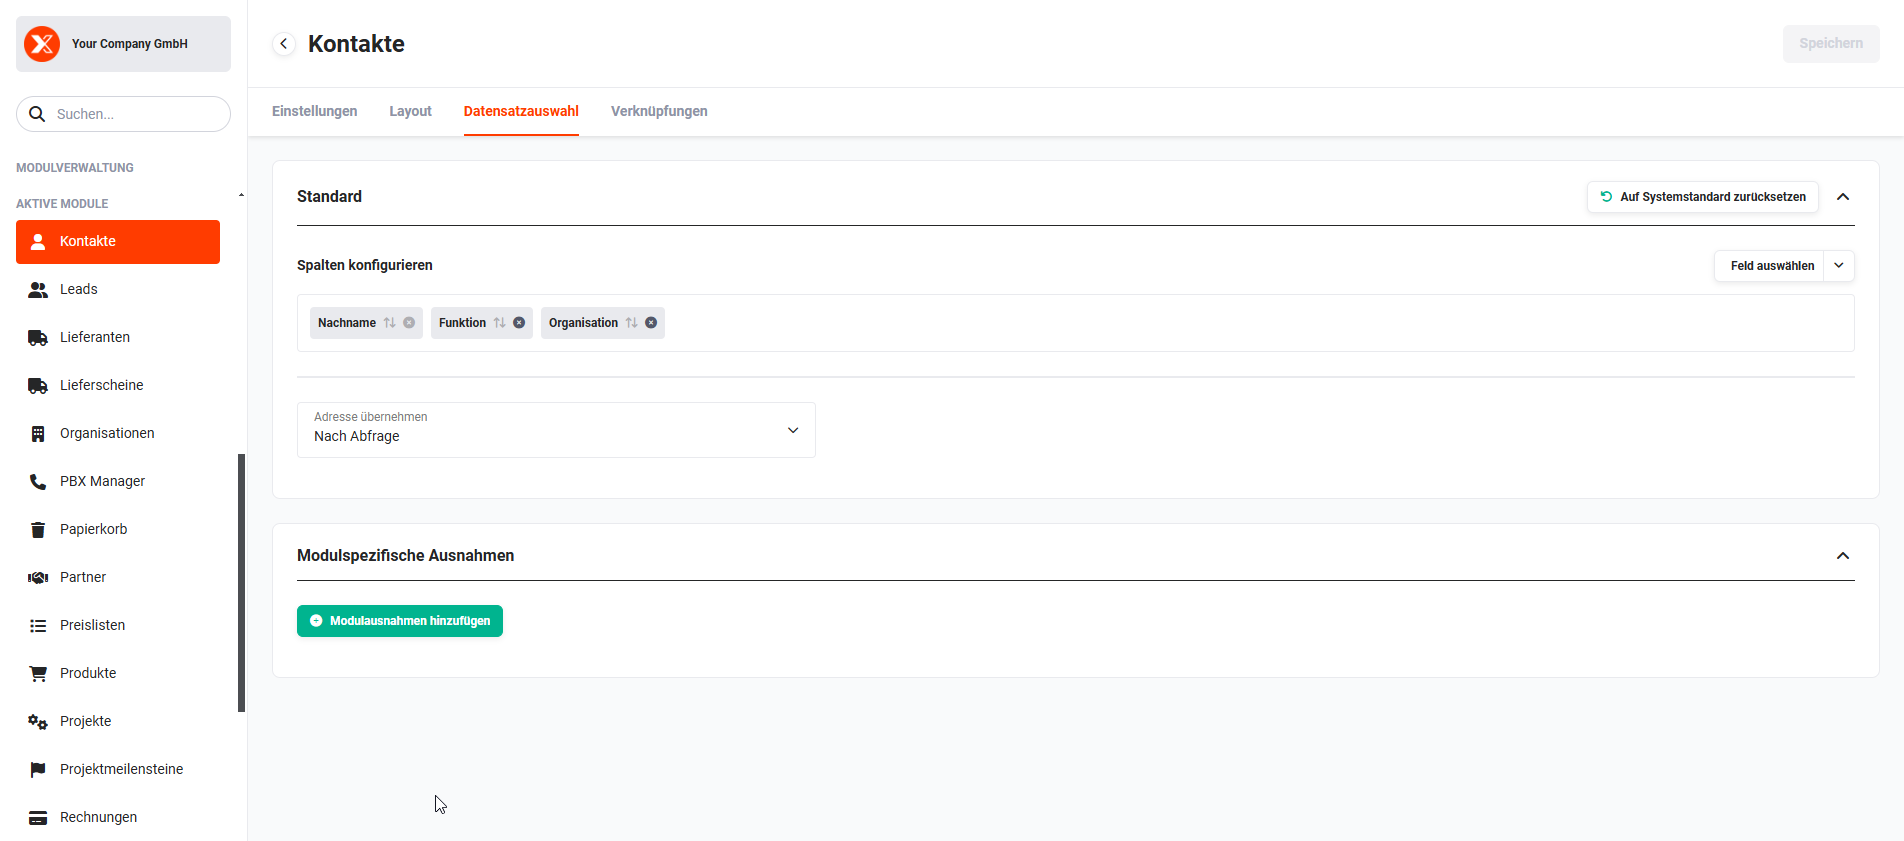 Module Management Tab "Record Selection"
The "Record Selection" tab is divided into two sections:
- Standard block → Configure columns (selection, order and sort) and the action "Reset to system default"
- Module-specific exceptions block → Settings item for deviating configurations of record selection in specific modules
2. Standard Block
2.1. Select Field
Using the "Select field" button, the fields of the module to be displayed can be selected.
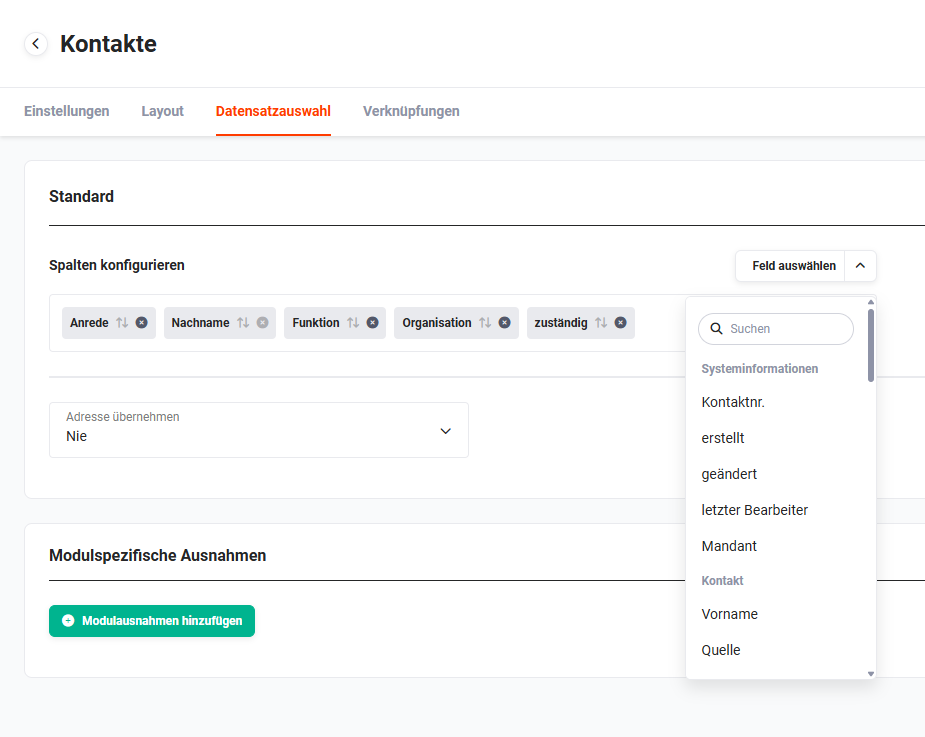 Configure columns – Select field
After clicking a field in the flyout menu, the field is added to the "Configure columns" area.
2.2. Configure Columns
In the "Configure columns" area, the following settings can be made:
- Column (field) order → Fields can be moved and rearranged using Drag & Drop.
- Remove columns (fields) → Clicking the "x" icon removes the field from the list view. Removed fields can be added again using the "Add field" button.
- Default sort order → Clicking the "arrow up/down" icon sets a default sort order for a field. The first click sorts the column in ascending order. The second click sorts in descending order, and the third click removes the sort. A default sort order can also be applied to multiple columns (fields).
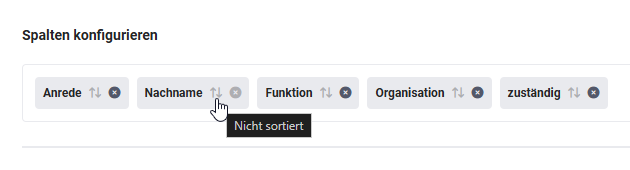 Configure columns – Column not sorted
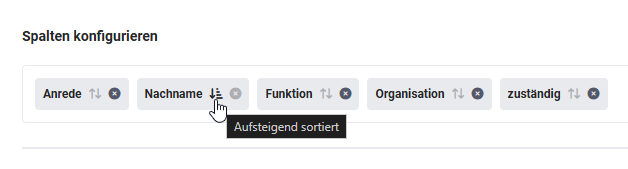 Configure columns – Column sorted ascending
- Copy address → Configuration of whether address data should be copied (only configurable in modules that contain address data). The dropdown list has the following values:
- On request → Before loading the data, a query (popup) is displayed asking whether the data should be copied.
- Always → The data is always loaded.
- Never → The data is never loaded.
3. Module-Specific Exceptions Block
For modules, deviating settings can be made regarding the displayed columns (fields), the order of columns, and the default sort order.
3.1. Select Modules for Exceptions
After clicking the "Module-specific exceptions" button, the popup "Select modules for exceptions" opens.
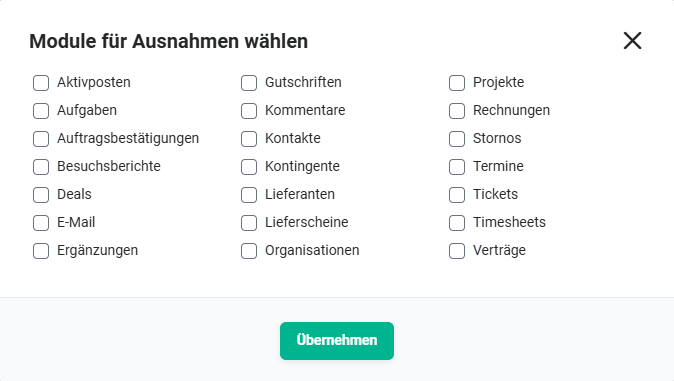 Module-specific exceptions – Popup "Select modules for exceptions"
After selecting one or more modules via checkbox and clicking the "Apply" button, a corresponding new section (per selected module) is displayed in the "Module-specific exceptions" block.
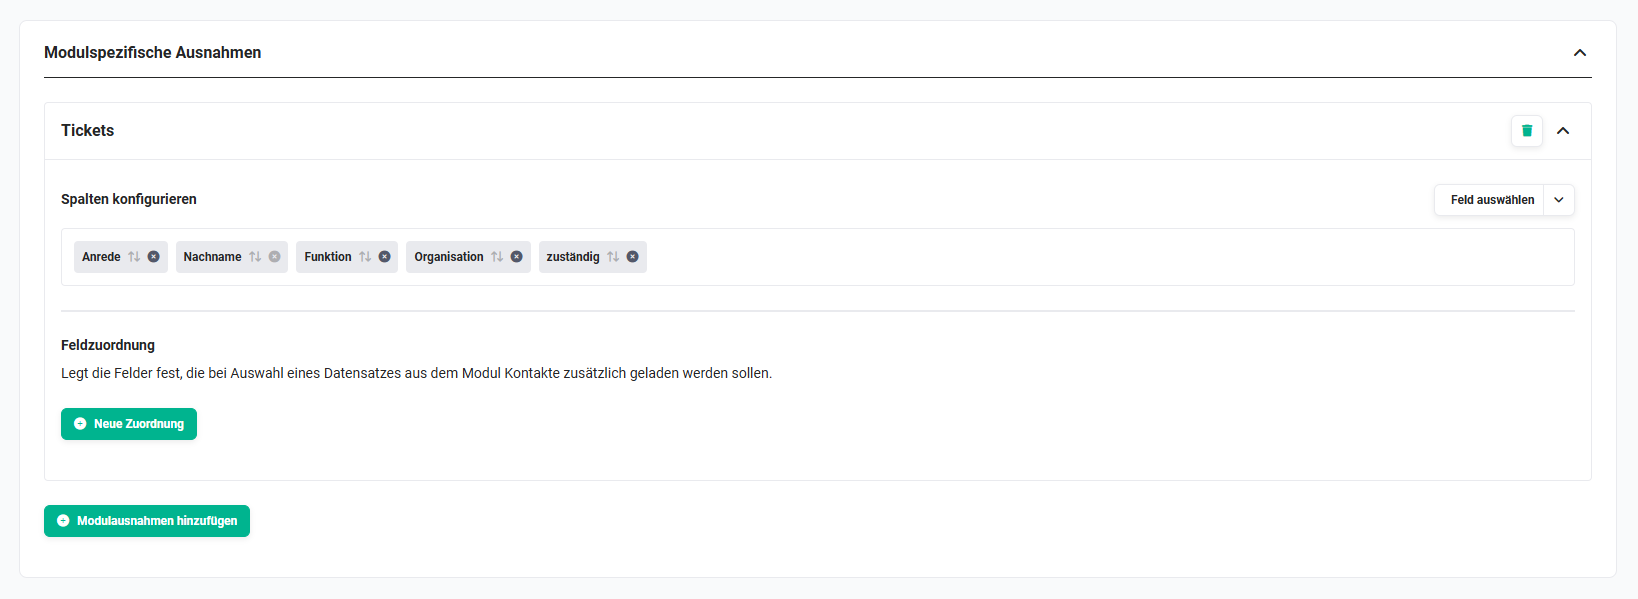 Example: Module-specific exceptions for the Tickets module when selecting a record from the Contacts module
3.2. Configure Columns
The configuration of the module-specific exception corresponds to the configuration in the Standard block (Select field and Configure columns).
3.3. Field Mapping
Field mappings allow you to optionally define fields that should be additionally loaded when a record from a module is selected.
After clicking the "New mapping" button, a new section is displayed in the "Module-specific exceptions – Field mapping" block.
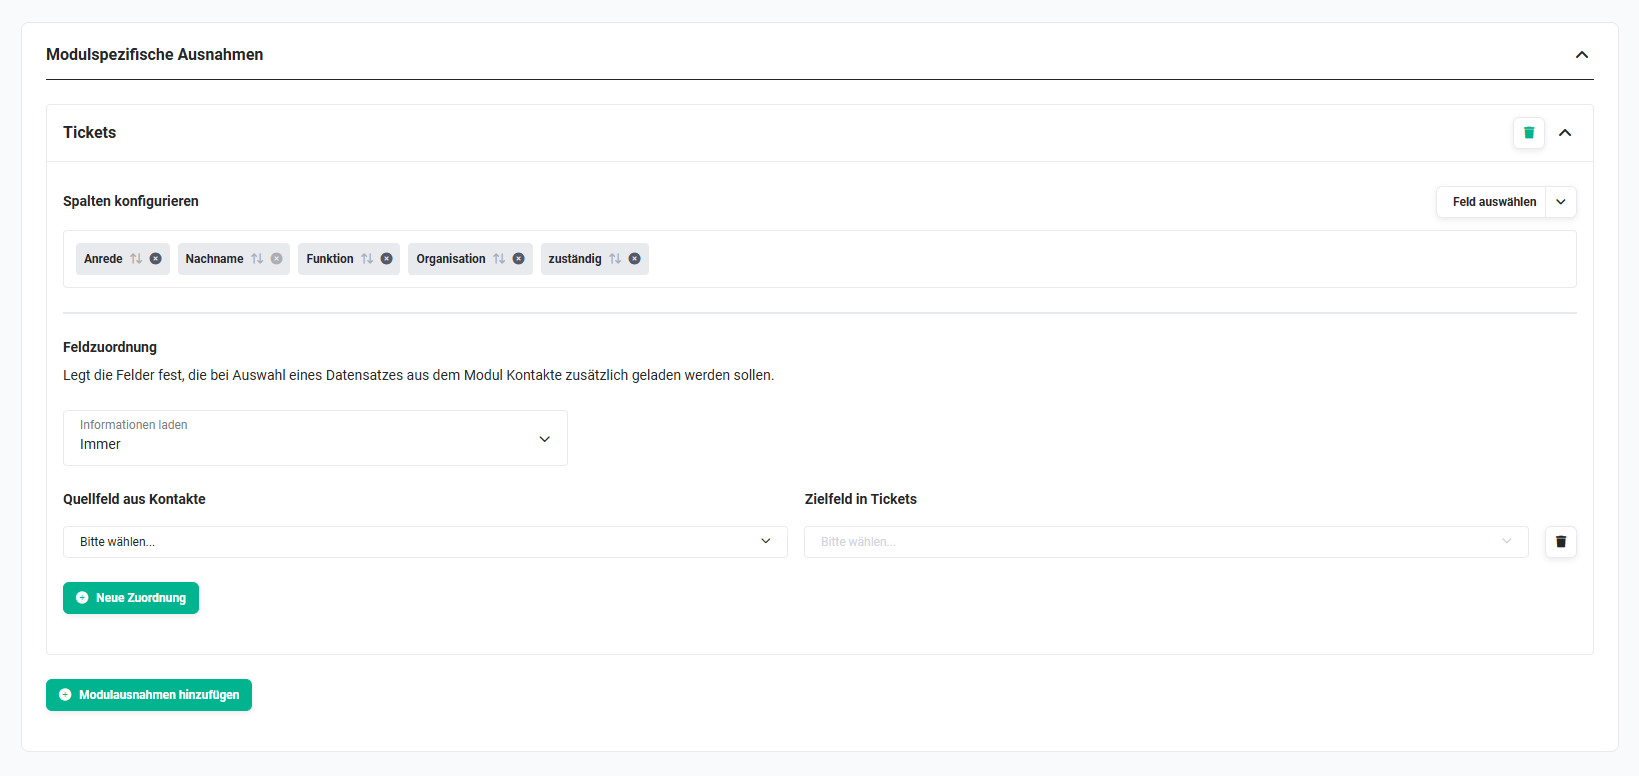 Example: Module-specific exceptions for the Tickets module when selecting a record from the Contacts module with field mapping
The following settings are available in the "Field mapping" area:
- Load information → Dropdown list with the values:
- Always → The information is always loaded.
- On request → Before loading the information, a query (popup) is displayed asking whether the data should be copied.
- Source field from >ModuleName< → Dropdown list of all fields (source field) from the source module
- Target field in >ModuleName< → Dropdown list of all fields (target field) into which the source field value is loaded
- Action icon "Recycle Bin" → Delete a field mapping
Additional new field mappings can be configured by clicking the "New mapping" button.
Additional new module-specific exceptions can be configured by clicking the "Add module exception" button.