
ICS Import/Export
Package: BASIC
1. General
The ICS format is the worldwide standard format used for calendar files by programs such as Google Calendar, Microsoft Outlook, or Apple iCalendar. This format makes it possible to import and export calendar entries between different platforms.
The ICS Import/Export enables the import and export of calendar entries in the Appointments and Tasks modules.
2. Background Task for ICS Import
For an ICS import to be executed, the background task CSV/ICS Import must be active. This background task checks at regular intervals whether new imports are pending and executes them.
The minimum execution interval is one minute for every cloud variant.
Only one CSV/ICS import can be registered per user and module. As long as the registered import has not been executed, no further imports can be registered. In this case, the following notice is displayed:
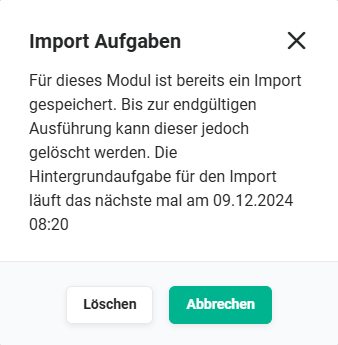 Notice: saved import in Tasks module
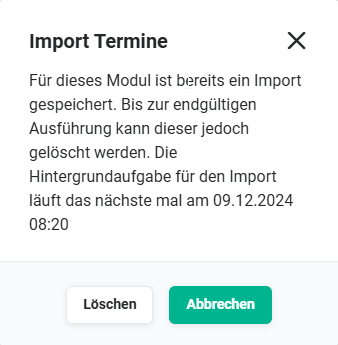 Notice: saved import in Appointments module
As long as the background task has not yet executed the registered CSV/ICS import, it can be deleted at any time and a different CSV/ICS import can then be registered.
3. ICS Import
With the ICS import, calendar entries that were previously exported from programs such as Google Calendar, Microsoft Outlook, or Apple iCalendar can be imported into brainX.
An ICS import is possible in the Tasks and Appointments modules.
3.1. ICS Import — Tasks Module
Clicking the Actions button in the list view of the module opens a popup menu showing all available actions for that module.
After clicking the ICS Import action, the Import Tasks popup opens:
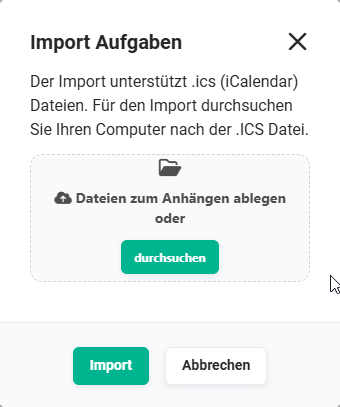 Popup CSV Import Tasks Module
ICS files can be dropped in the popup (Drag & Drop) or selected via the operating system file explorer (button Browse).
After clicking the Import button, the import is saved and a corresponding notice is displayed:
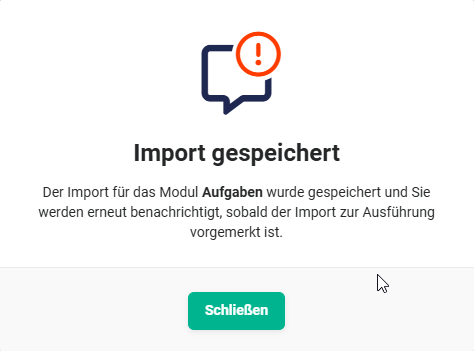 Notice: import saved
The import will be executed at the next run of the background task CSV/ICS Import.
3.1.1. Display of Saved Import
After saving the import, this is visually indicated in the bottom right of brainX using the Show Status icon.
As long as an import has not been executed, it can be cancelled. To do this, click the Show Status icon and then click the Delete button in the popup:
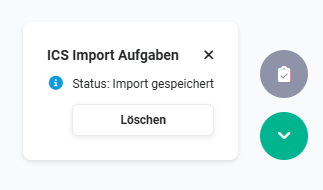 Display of saved import
3.1.2. Display of Completed Import
After the import has been executed, this is displayed in the notifications in the navigation bar.
Clicking the Bell icon (Notifications) in the navigation bar opens the Notifications sidebar:
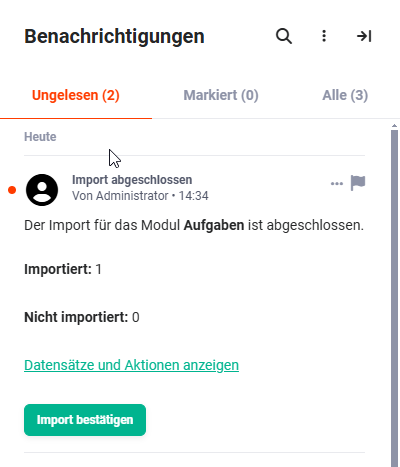 Notifications Sidebar
The import can be confirmed using the Confirm Import button.
A confirmed import cannot be undone!
Clicking the Show records and actions action link opens a list view of the records to be imported.
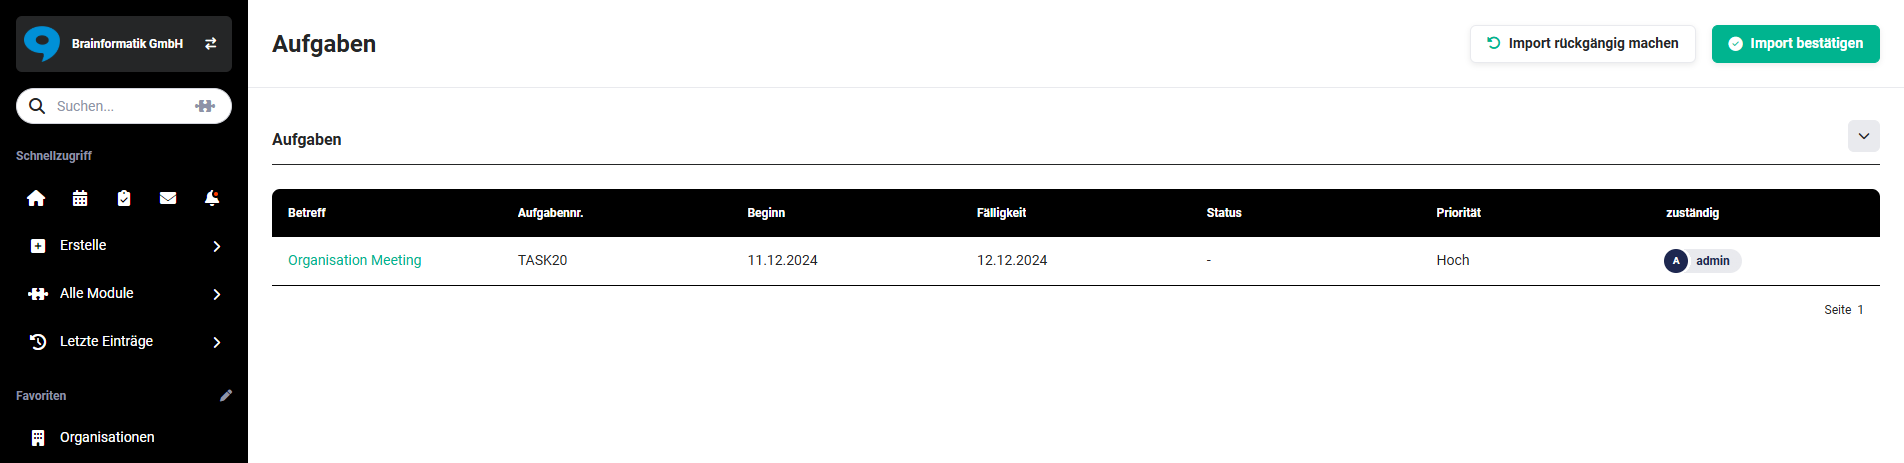 Display of records to be imported
In this list view, two buttons are located in the top right:
-
Undo import → the import is undone.
After clicking the Undo import button, a confirmation popup is displayed:
Clicking the Confirm button undoes the import. The Cancel button aborts the process.
-
Confirm import — the import is confirmed
A confirmed import cannot be undone!
3.2. ICS Import — Appointments Module
Clicking the Actions button in the list view of the module opens a popup menu showing all available actions for that module.
After clicking the ICS Import action, the Import Appointments popup opens:
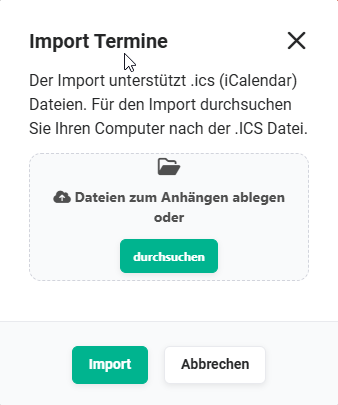 Popup CSV Import Appointments Module
ICS files can be dropped in the popup (Drag & Drop) or selected via the operating system file explorer (button Browse).
After clicking the Import button, the import is saved and a corresponding notice is displayed:
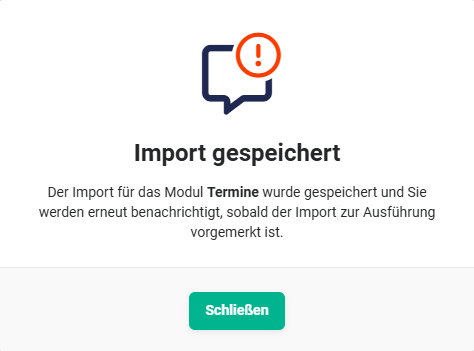 Notice: import saved
The import will be executed at the next run of the background task CSV/ICS Import.
3.2.1. Display of Saved Import
After saving the import, this is visually indicated in the bottom right of brainX using the Show Status icon.
As long as an import has not been executed, it can be cancelled. To do this, click the Show Status icon and then click the Delete button in the popup:
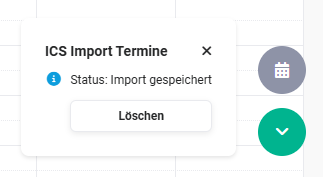 Display of saved import
3.2.2. Display of Completed Import
After the import has been executed, this is displayed in the notifications in the navigation bar.
Clicking the Bell icon (Notifications) in the navigation bar opens the Notifications sidebar:
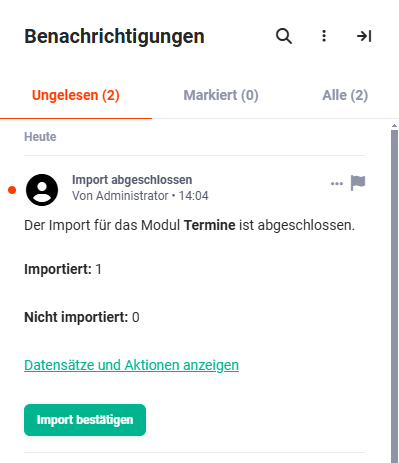 Notifications Sidebar
The import can be confirmed using the Confirm Import button.
A confirmed import cannot be undone!
Clicking the Show records and actions action link opens a list view of the records to be imported.
4. ICS Export
With the ICS export, calendar entries exported from brainX can be imported into programs such as Google Calendar, Microsoft Outlook, or Apple iCalendar.
An ICS export is possible in the Tasks and Appointments modules.
For the ICS export — unlike the ICS Import — no separate background task needs to be activated, since an ICS export is executed "immediately" and not on a schedule.
4.1. ICS Export — Tasks Module
Clicking the Actions button in the list view of the module opens a popup menu showing all available actions for that module.
After clicking the ICS Export action, the Export Tasks popup opens:
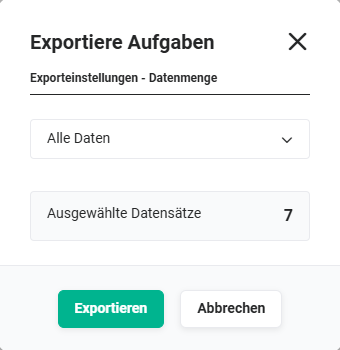 Popup ICS Export Tasks Module
In the popup, a selection list allows you to choose which data should be exported:
- All data — all records of the module are exported
- Only the data of the current page — only the data of the current page from which the export was started are included
- Only selected data — only the data marked in the list view using checkboxes (also across pages) are included in the export
After clicking the Export button, the ICS export starts and the ICS file is saved in the browser's default download folder once generated.
The filename of the generated ICS file is — if only one task was exported — the English module name with the file extension ".ics" ("Tasks.ics"). If more than one task is exported, a ZIP file is created. The filename is then "Tasks.zip" accordingly.
4.2. ICS Export — Appointments Module
Clicking the Actions button in the calendar view of the module opens a popup menu showing all available actions for that module.
After clicking the ICS Export action, the Export Appointments popup opens:
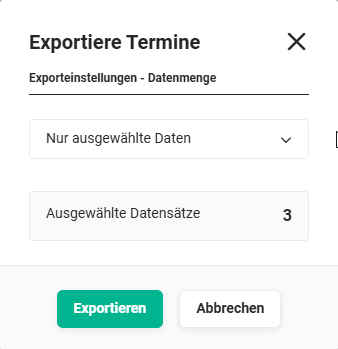 Popup ICS Export Appointments Module
In the popup, a selection list allows you to choose which data should be exported:
- All data — all records of the module are exported
- Only selected data — only the data marked in the calendar view using "Ctrl + Click" are included in the export
After clicking the Export button, the ICS export starts and the ICS file is saved in the browser's default download folder once generated.
The filename of the generated ICS file is — if only one appointment was exported — the English module name with the file extension ".ics" ("Appointments.ics"). If more than one appointment is exported, a ZIP file is created. The filename is then "Appointments.zip" accordingly.
5. Practical Examples
1 - Transfer existing Outlook appointments to brainX during system migration
Situation: A company switches to brainX. Existing customer appointments from Microsoft Outlook should be transferred to the Appointments module without having to enter them manually one by one.
Approach: In Outlook, the desired appointments are exported as an ICS file. In the Appointments module in brainX, the ICS Import action is started and the ICS file is uploaded. After the background task runs, the imported appointments are displayed in the notifications. Via the Show records and actions link, the appointments can be reviewed before final acceptance and then confirmed via Confirm Import.
Result: All existing appointments are available in brainX — without manual entry and with the ability to review before confirmation.
2 - Integrate brainX appointments into Google Calendar
Situation: A field sales representative wants to see their customer appointments planned in brainX in Google Calendar as well, to access them on their smartphone.
Approach: In the Appointments module, the desired appointments are marked using checkboxes in the calendar view (Ctrl + Click). Via the ICS Export action, the Only selected data option is selected and the ICS file is exported. The file is then imported into Google Calendar via Other calendars → Import from file.
Result: The selected brainX appointments are visible in Google Calendar and available on the smartphone.
3 - Import tasks from a project management tool into brainX
Situation: Tasks from an external project management tool are available as an ICS export and should be transferred to the Tasks module in brainX.
Approach: The ICS file from the external tool is uploaded in the Tasks module via the ICS Import action. After the background task runs, a notification appears. The imported tasks are reviewed via Show records and actions. If all entries are correct, the import is completed via Confirm Import.
Result: Tasks from the external system are transferred to brainX and can be continued and managed there.
6. FAQ
In which modules is the ICS Import/Export available?
The ICS import and export are available exclusively in the Appointments and Tasks modules.
Does the ICS export require a background task to be active?
No, the ICS export is executed immediately and does not require a separate background task. The ICS file is available for download directly after clicking Export. For the ICS import, however, the CSV/ICS Import background task must be active.
Can a confirmed ICS import be undone?
No, a confirmed import cannot be undone. Before confirmation, however, it is possible to review the records to be imported via the Show records and actions link and abort the import if needed via Undo import.
What happens if an ICS import is already registered and another one is to be started?
Only one ICS import can be registered per user and module at a time. As long as the existing import has not been executed, it can be deleted via the Show Status icon — after which a new import can be registered.
In what format is the exported file provided?
If only a single record is exported, a single ICS file is created (e.g., Tasks.ics or Appointments.ics). If multiple records are exported, they are combined in a ZIP file (e.g., Tasks.zip or Appointments.zip).